SHARE
Before learning about aperture, shutter speed, ISO, lenses, and flash there is one element of photography that is intrinsically more important than any other. That is of course light! At the most basic of levels, photography is all about light, how we see it, how we manipulate it, how we utilize it to tell our stories. By understanding light you understand photography. I wish I had known more about light and how to use it well before diving into the photography world, but I did learn quickly that everything I did was related to it. Here are some examples of lighting situations that you will most likely encounter at some point in your photographic experience.
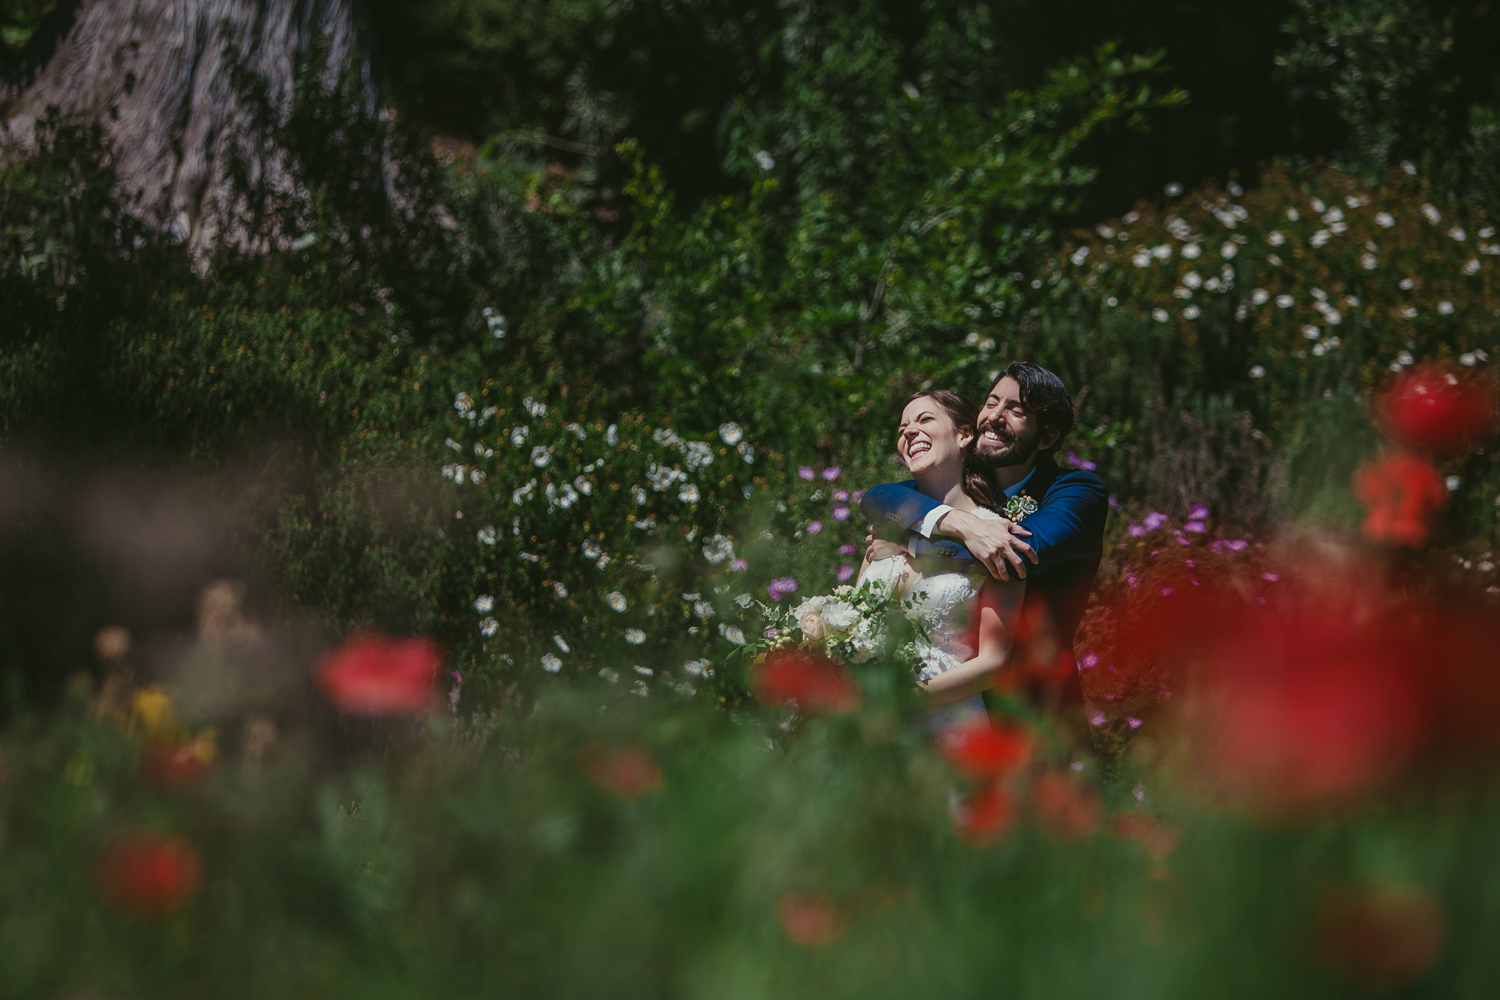
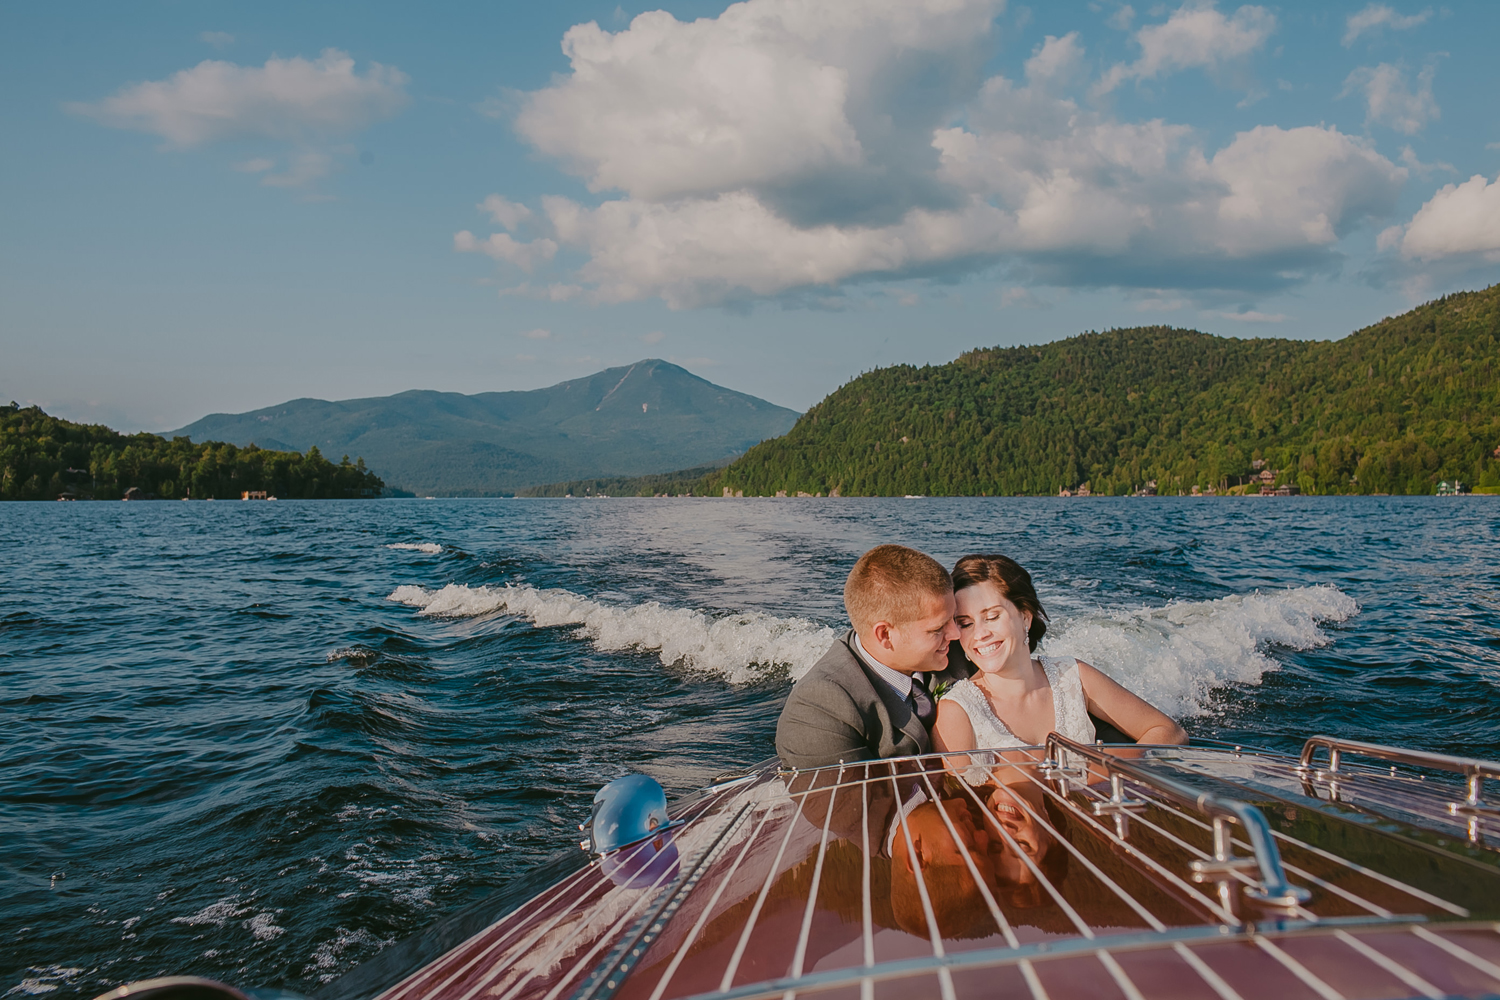
Harsh Light
– Harsh Light tends to be late morning to early afternoon where the sun is almost directly overhead. Not only does it create squinty eyed people, but it also creates extreme shadows. Contrast is very distinct and racoon eyes are something to look out for. There are some jobs where we just can’t avoid this light, so learn how to utilize it to your advantage. Tilt faces towards the sunshine, but close eyes, play with the contrast of dark & light in the shadows, Keep your clients in between you & the sun, & expose for the lightest thing (typically the wedding dress).
Back Light
– Backlight is when your subject is position between you & the sun and against a darker background. If you’ve got open sky or a light background then you wont see this effect. There will typically be a rim light along the edges of your subject creating beautiful separation between them & the background. My favorite time of day to shoot his is during Golden Hour, but you can do this practically any time of day.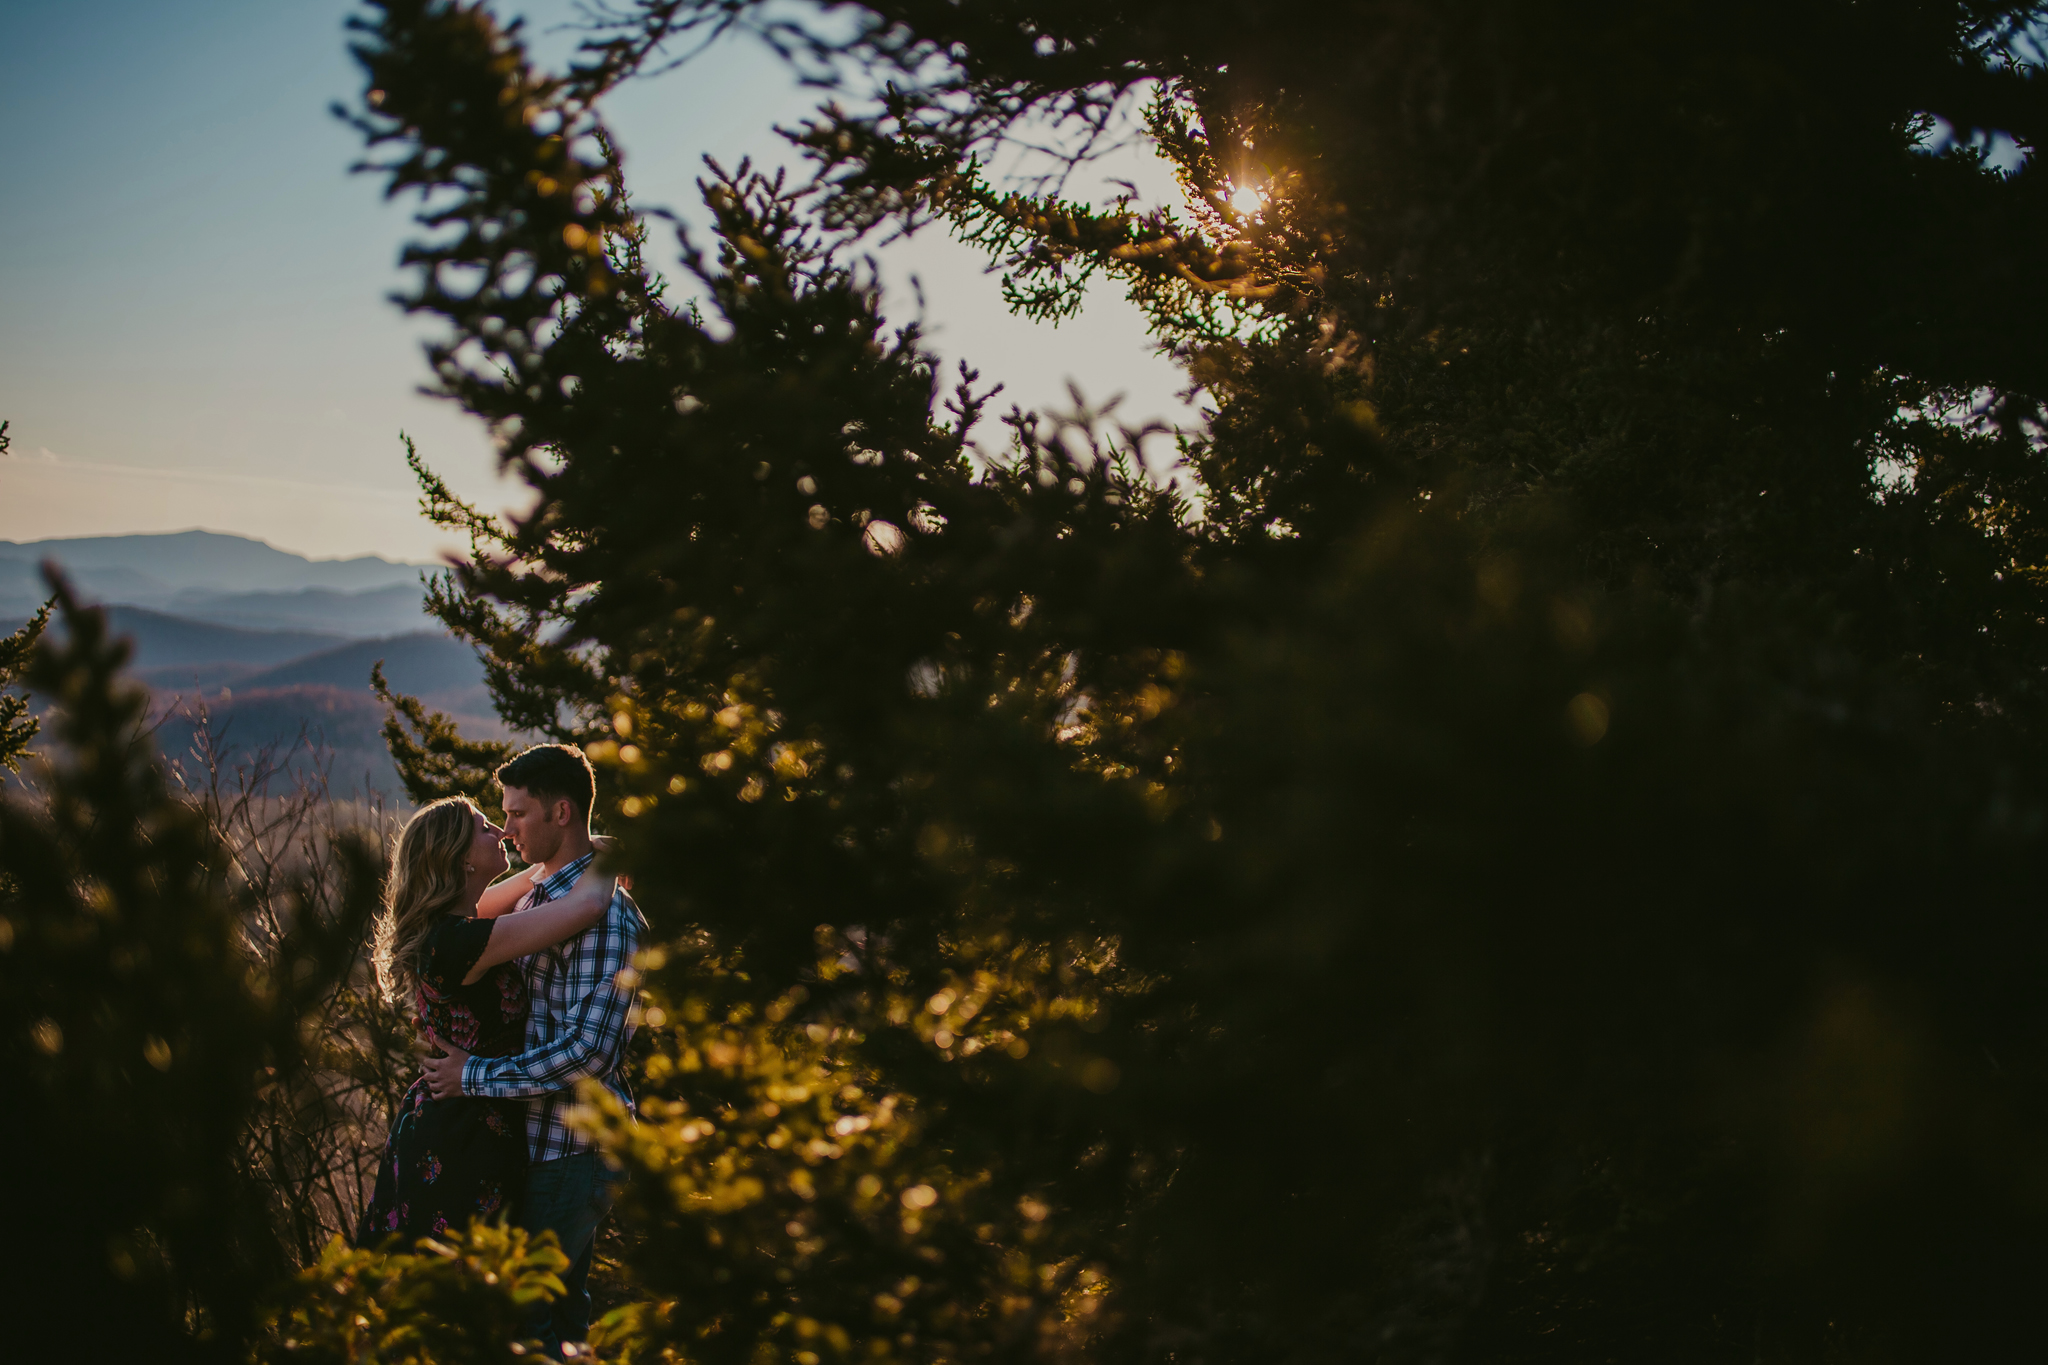
Golden Hour
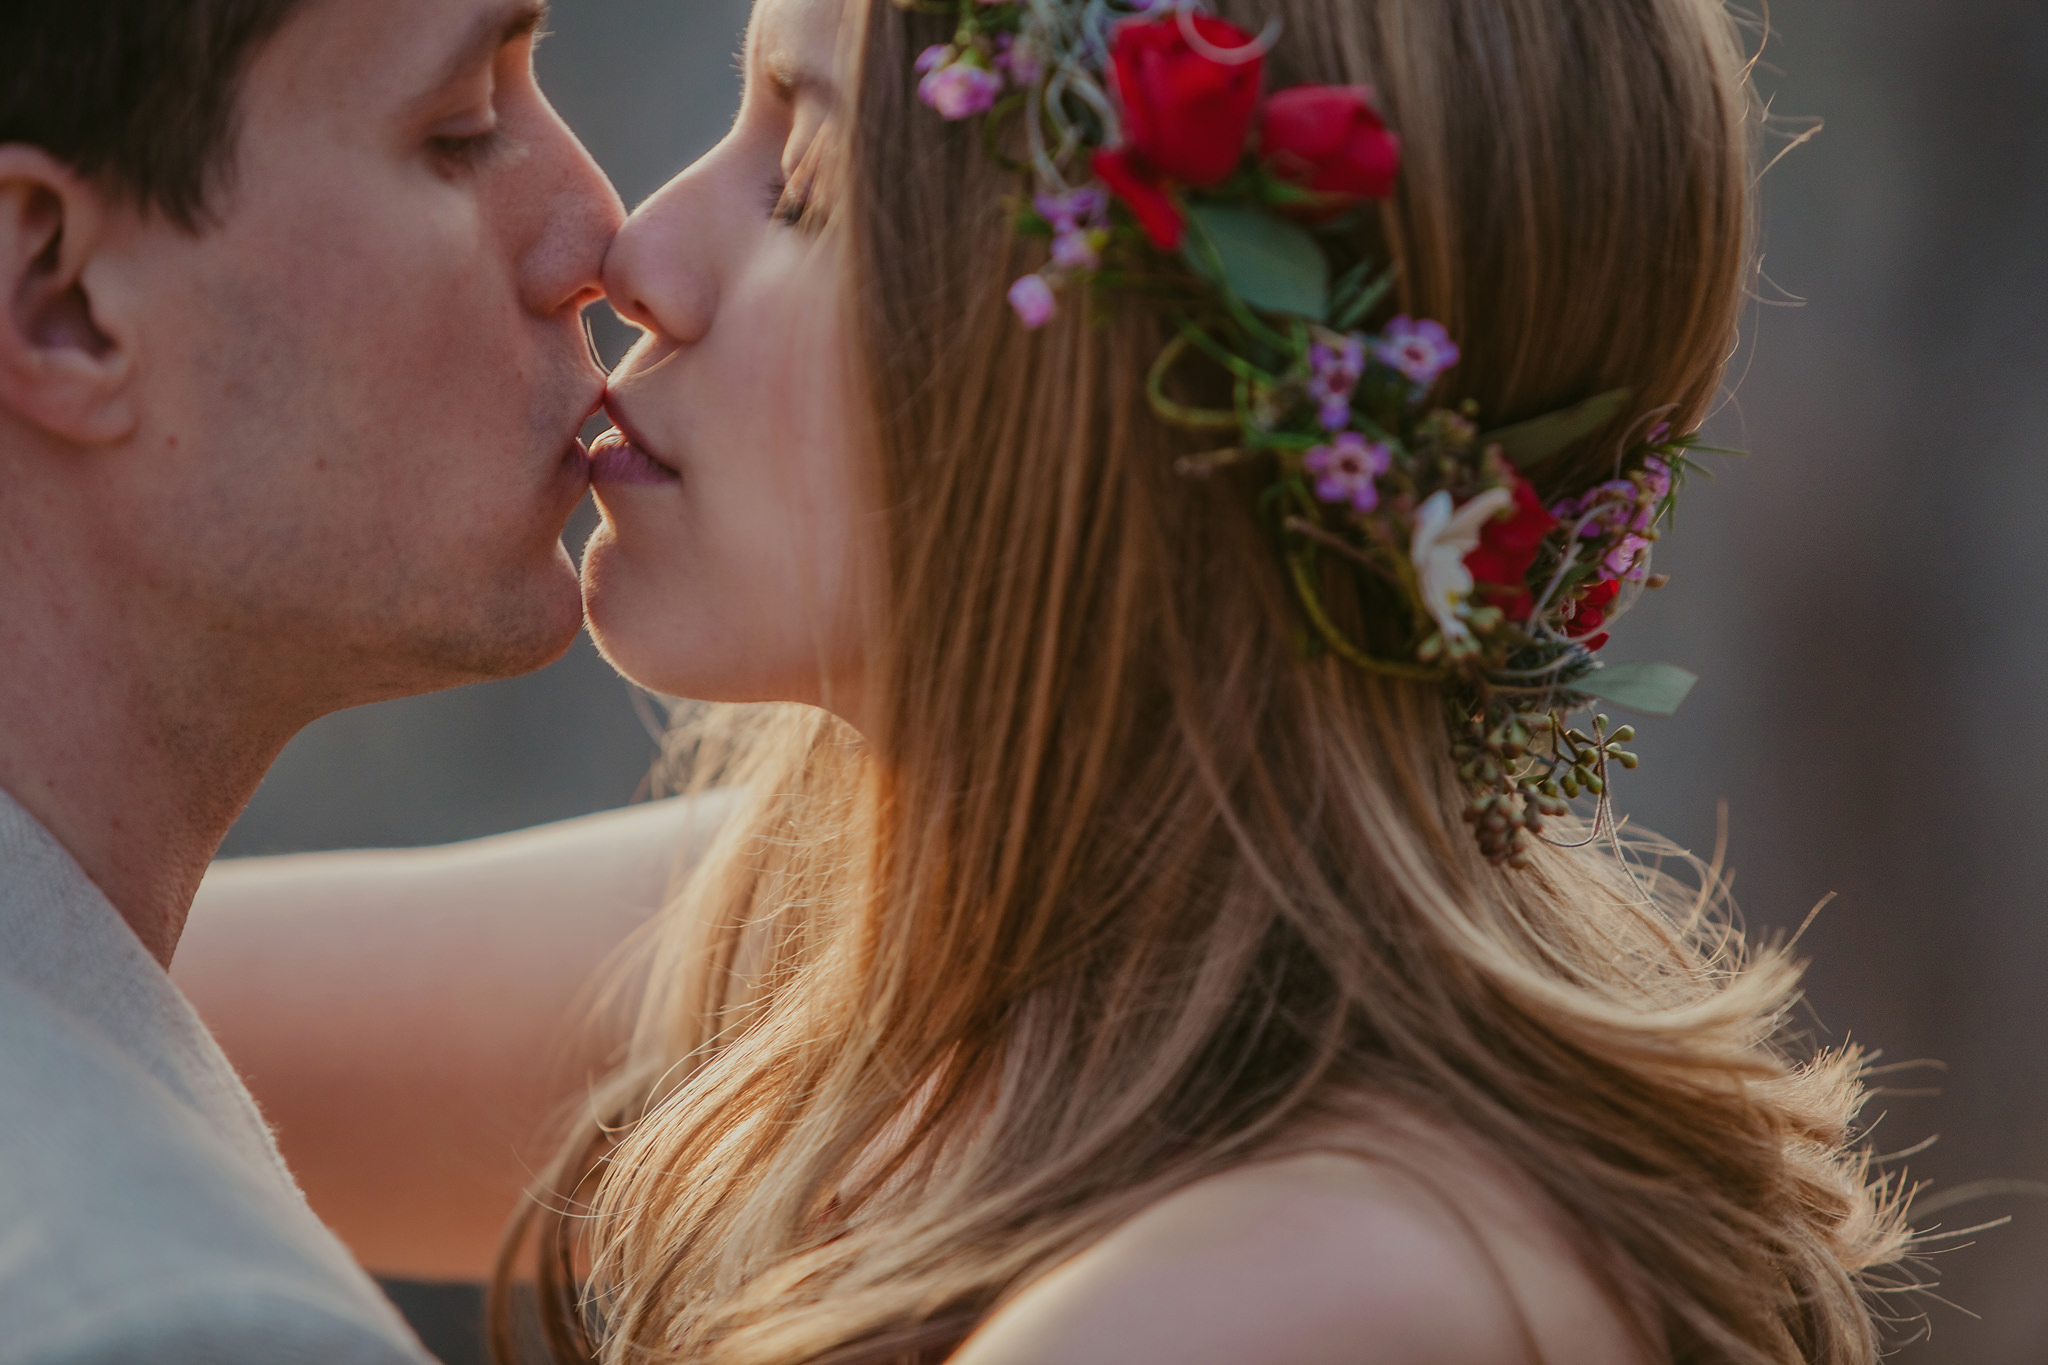
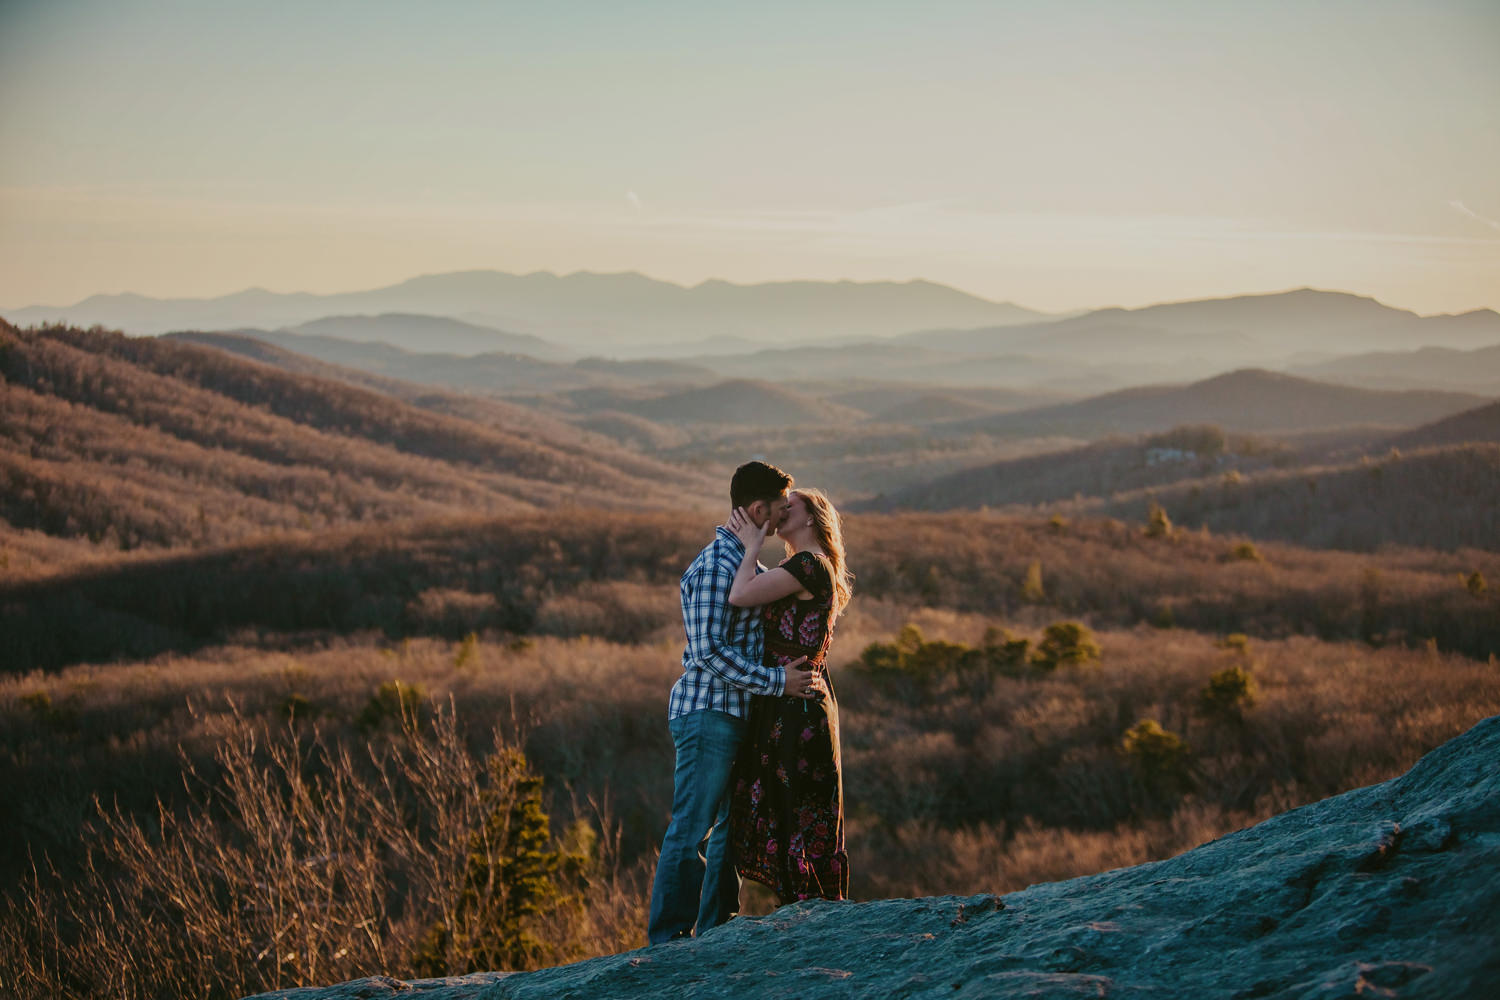
– Golden hour typically takes place 1-2 hours prior to sunset. It’s that time of day where the sun is getting low in the sky & everything has a beautiful golden hue to it. It’s the most popular time of day to shoot because the light is so soft that most people can enjoy the sunshine without squinty eyes!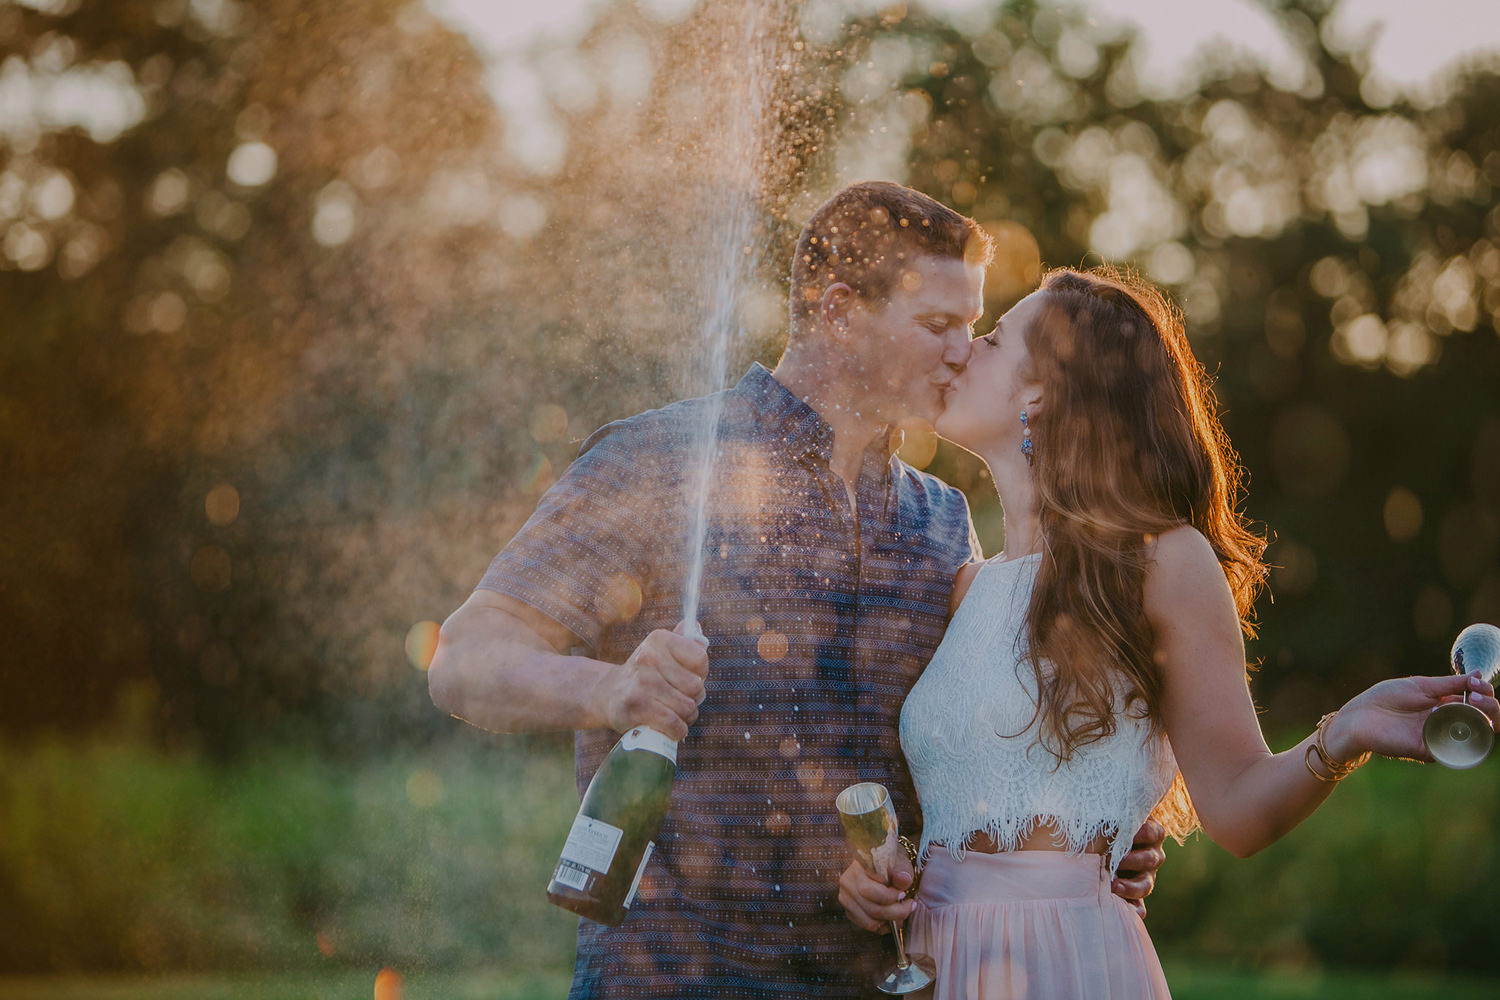
Shade
– Shade is normally a safe bet. Running to a nearby tree or a building that has cast a shadow will help you if you’re not sure what to do in that Harsh Light I mentioned above. Depending on the time of day though, you’ll want to watch out for hot spots. This happens when you’re standing under a tree & light is filtering through the leaves creating all sorts of weird lighting. To prevent this either find a tree where there are little to no hot spots (lots of leaves) OR look what direction the sun is coming through and place your subject’s back to the sun. This will automatically stop the hot spots.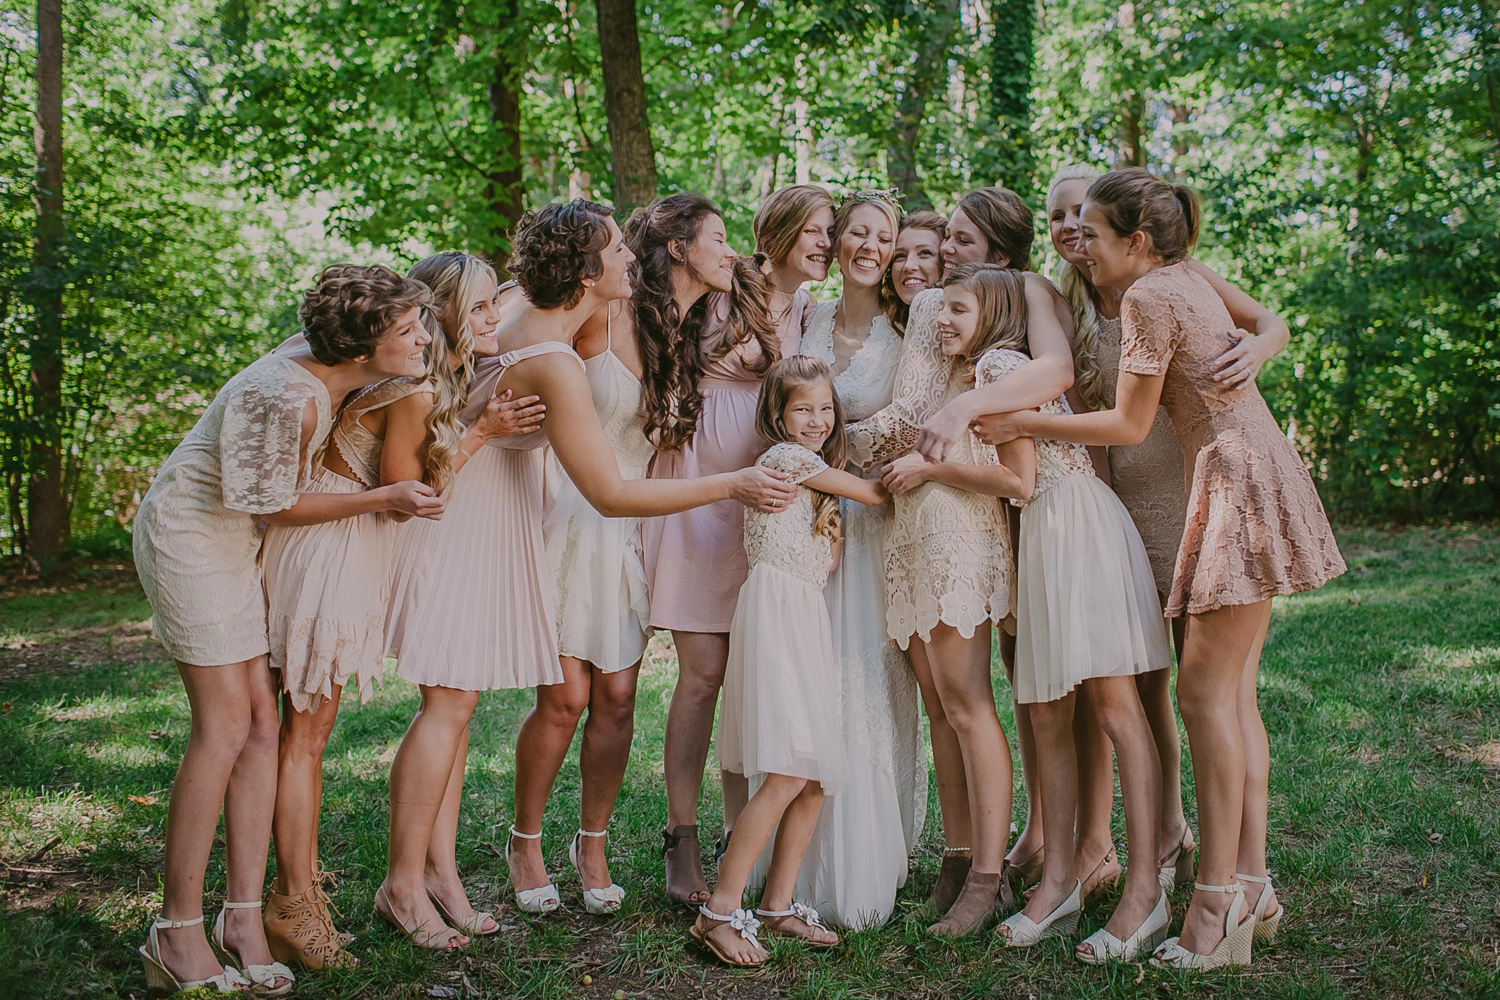
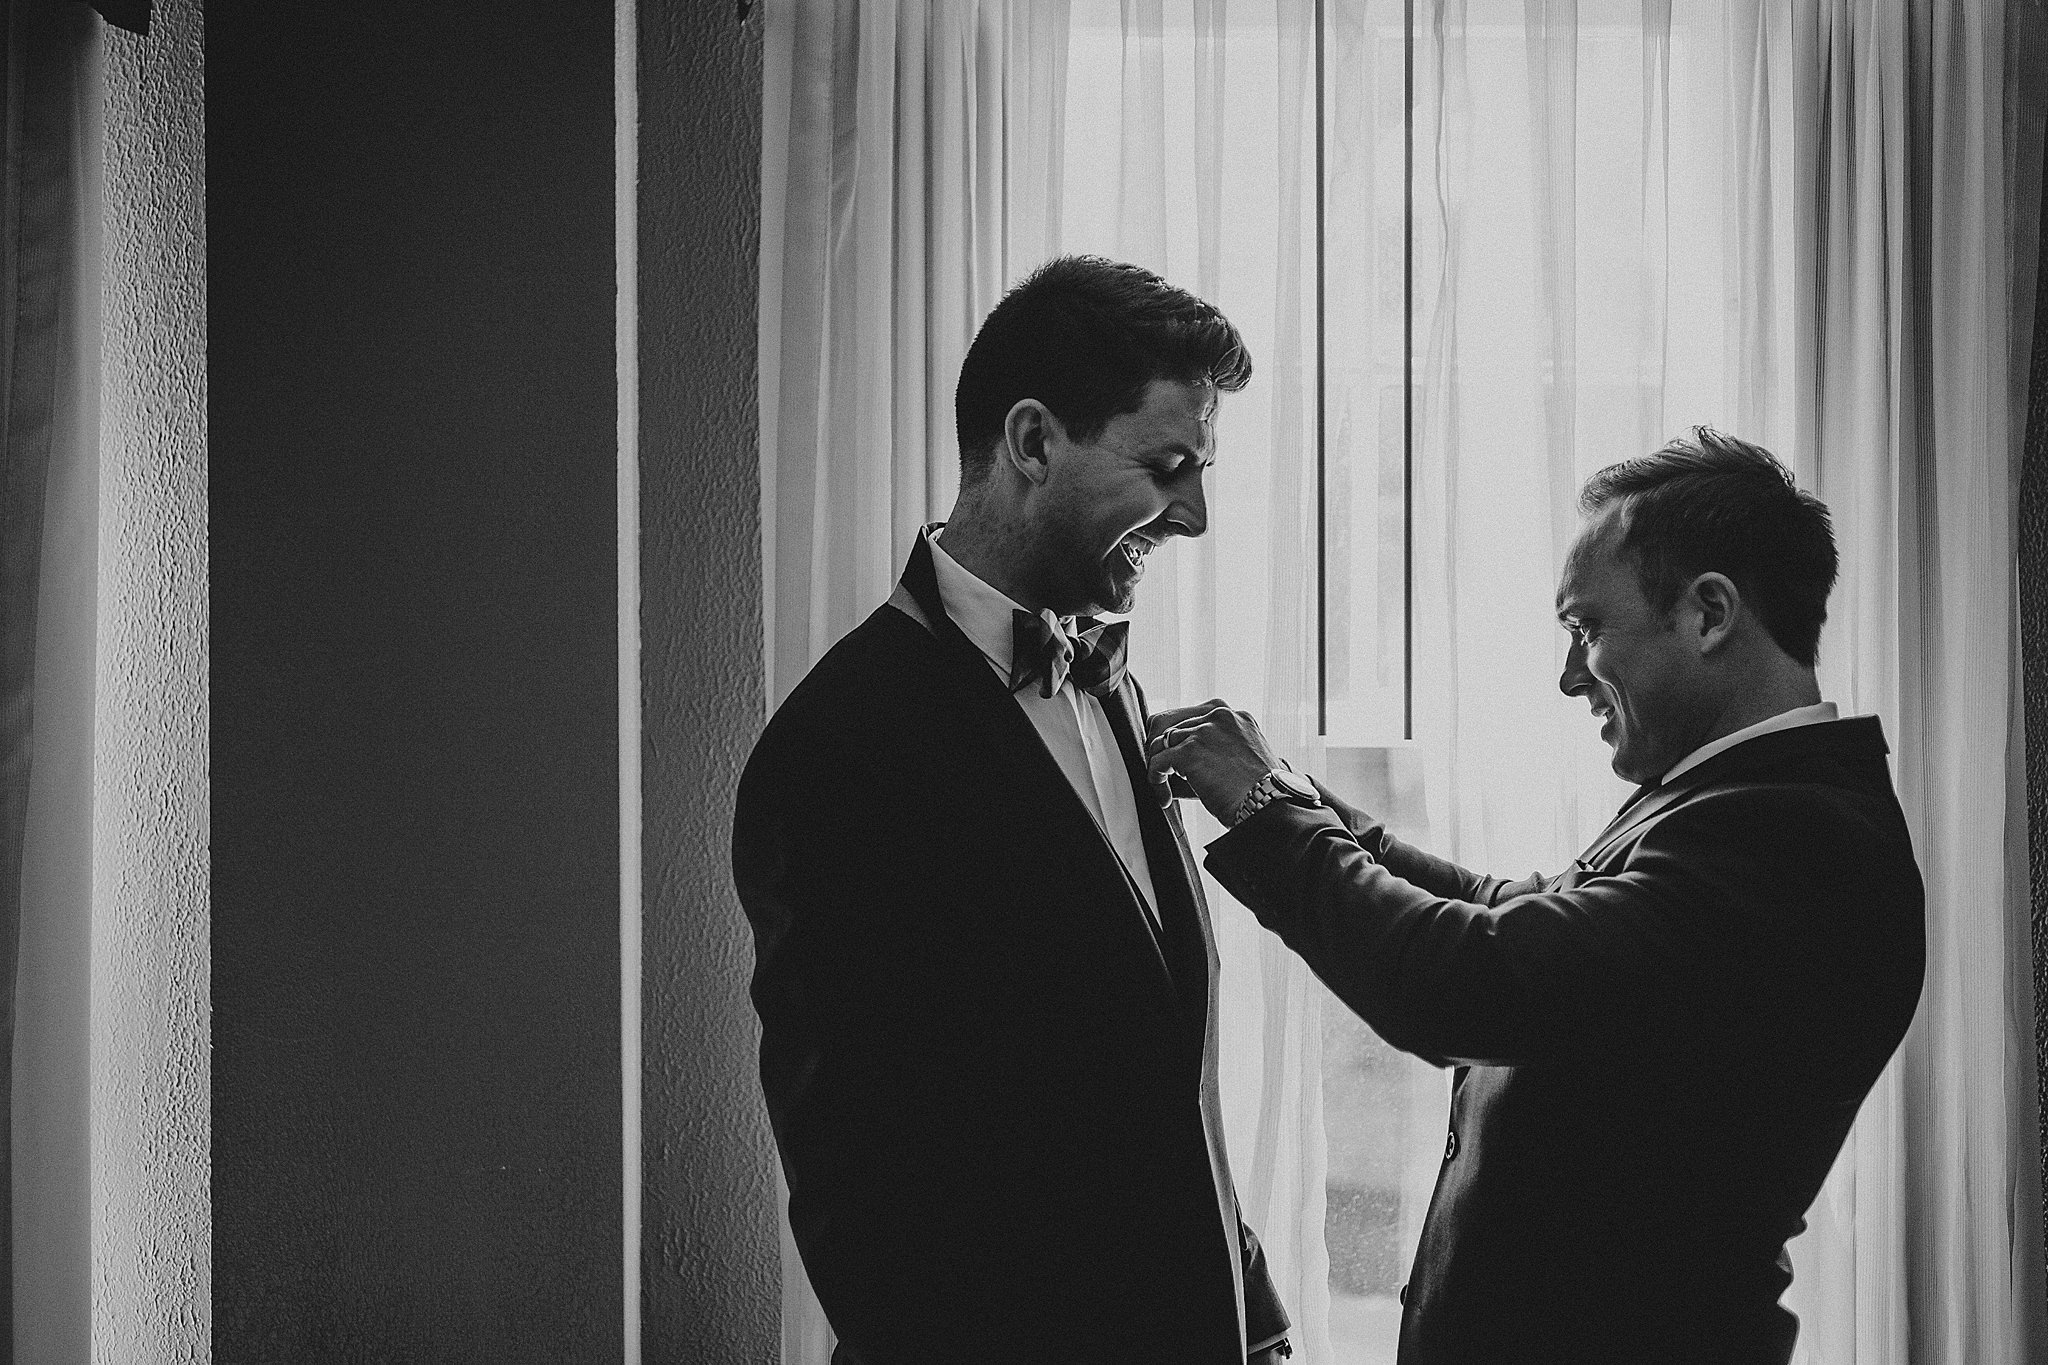
Window Light
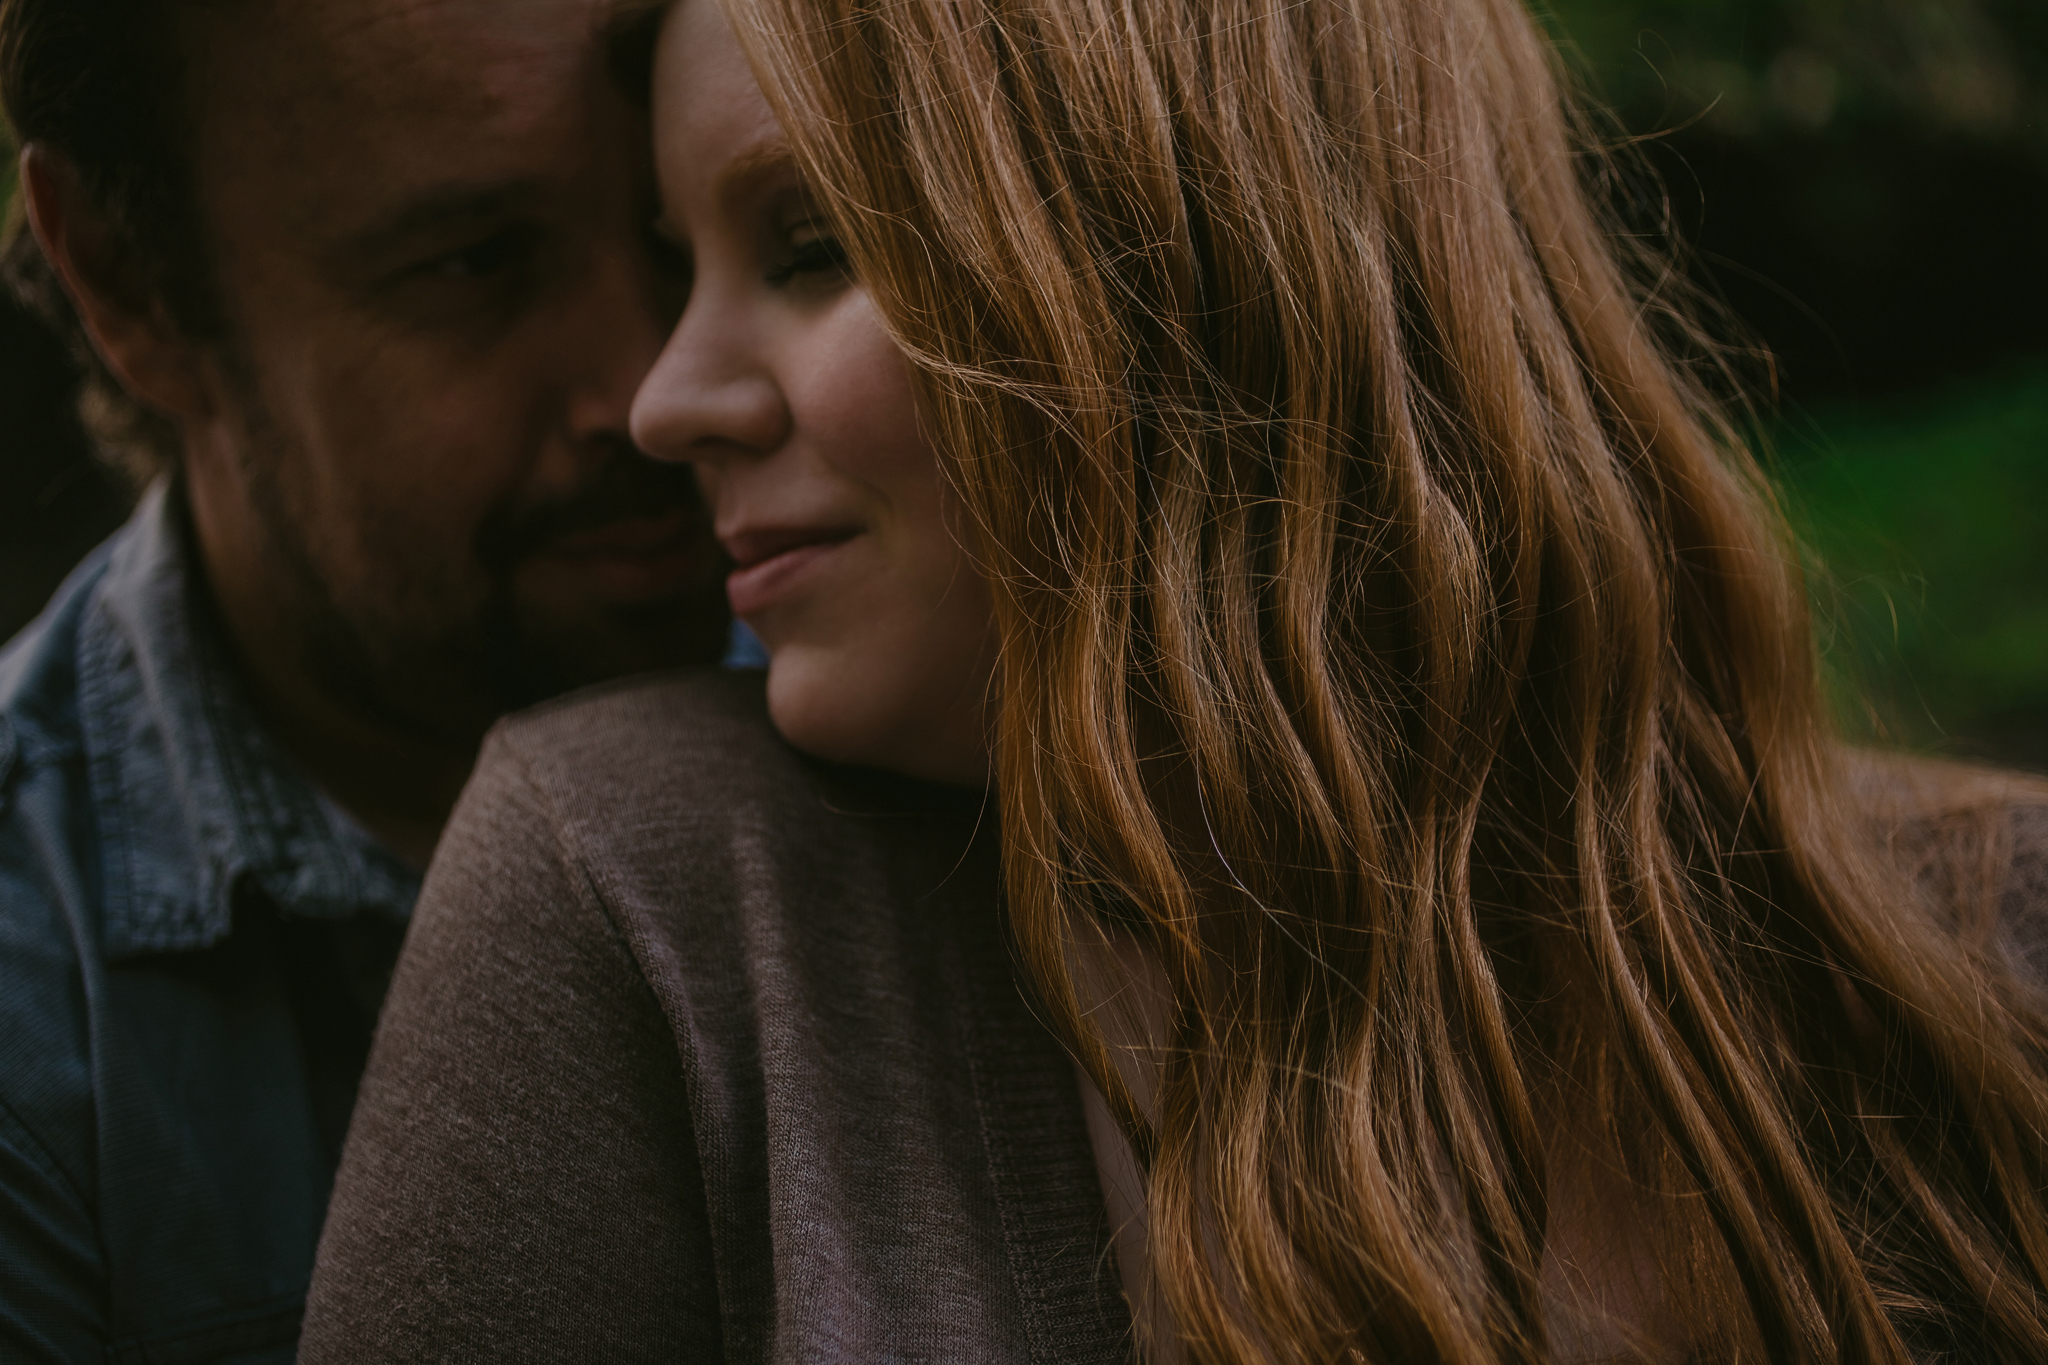
– You can create some amazing photographs by simply utilizing a window. Again, depending on the time of day, the intensity of light coming through a window will differ. You can create both soft & beautiful portraits along with dramatic ones simply by choosing the right window at the right time.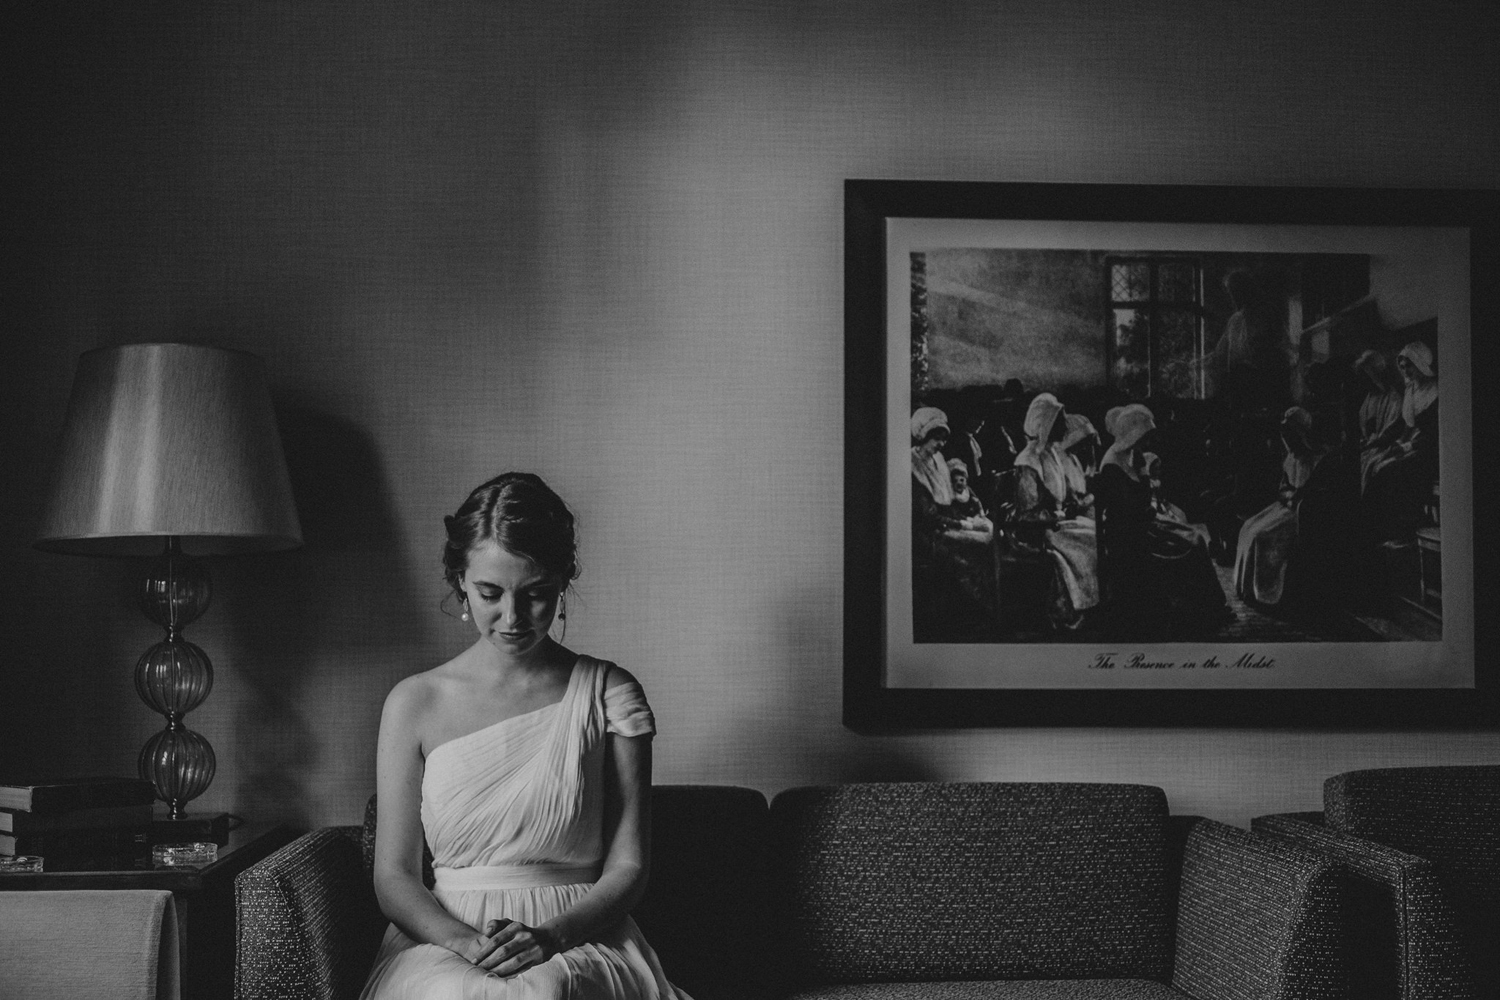
Artificial Light
– Artificial light is any light that is created and not naturally occurring from the sun. This can be indoor lights or outdoor lights, but it’s light that is available for you to use. During the daytime this can be helpful, but it often can be a distraction too. During the getting ready portion of a wedding day I tend to turn off any artificial light and utilize what natural light I can. BUT during the evening I’m a big fan of bringing in the Artificial light into my photographs to create atmosphere. Most of the time I use this in combination with Flash.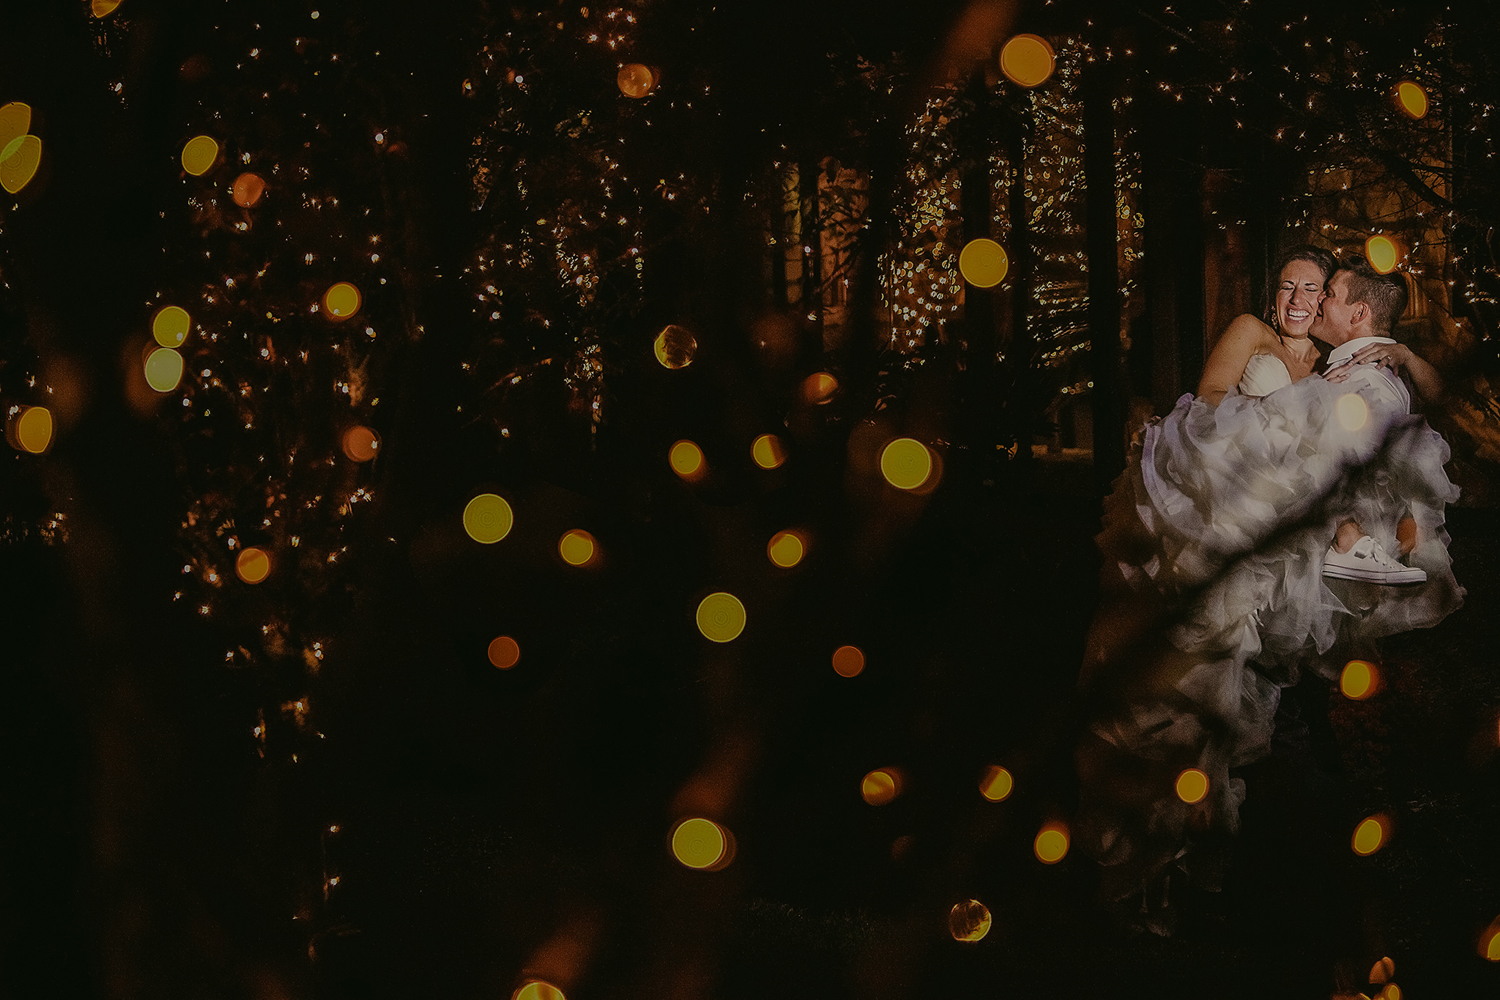
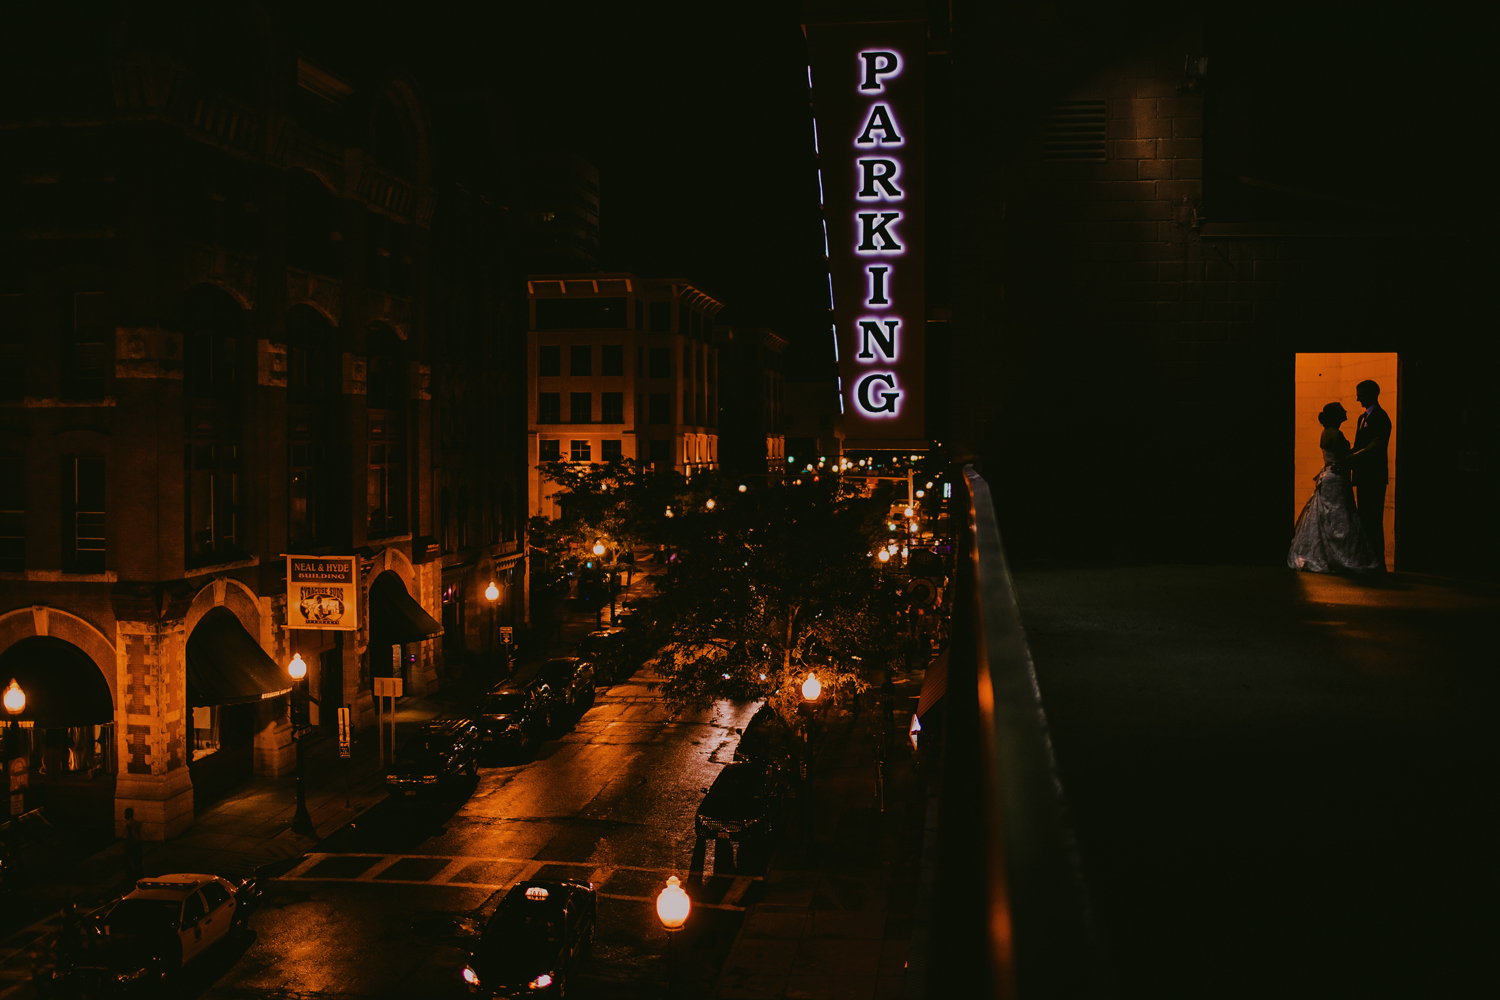
Flash
– Flash is that little black box that sits atop your camera & pumps out light whenever you click the trigger. If you’re a wedding photographer (or want to be one) I can’t emphasize enough how learning flash is 100% necessary. You may be more comfortable with natural light, but trust me, no camera is amazing enough when you’re in a low light situation. You need to be able to CREATE light when it’s important. There are different ways you can use your flash too: direct, bounced, off camera. Each of these options comes with challenges of their own, but can create some seriously awesome photographs.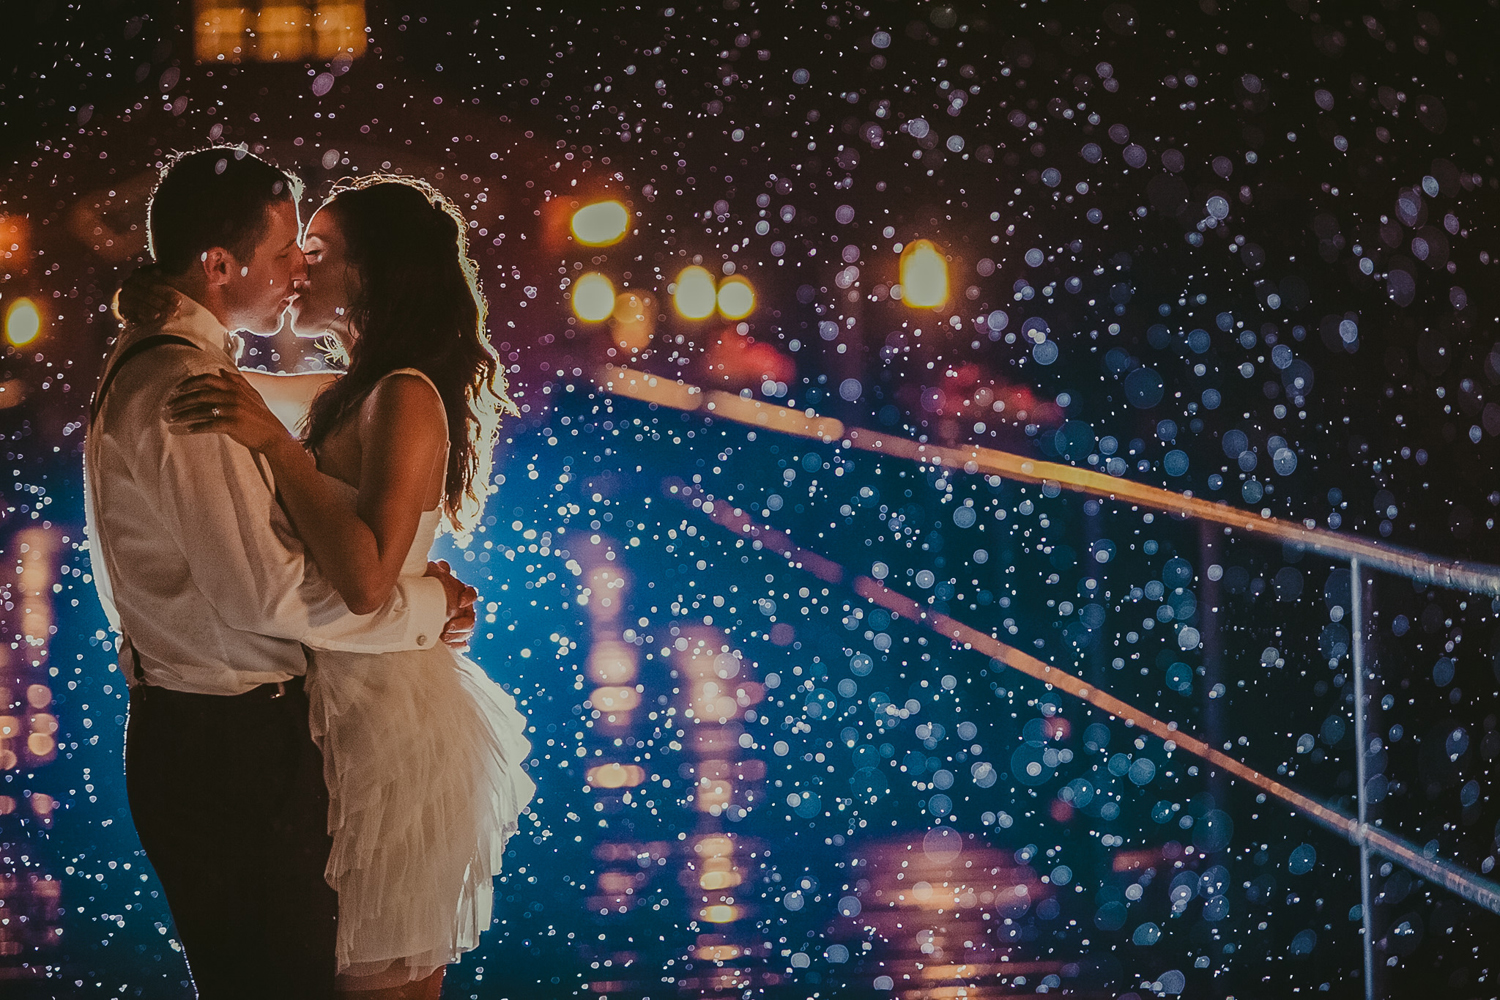
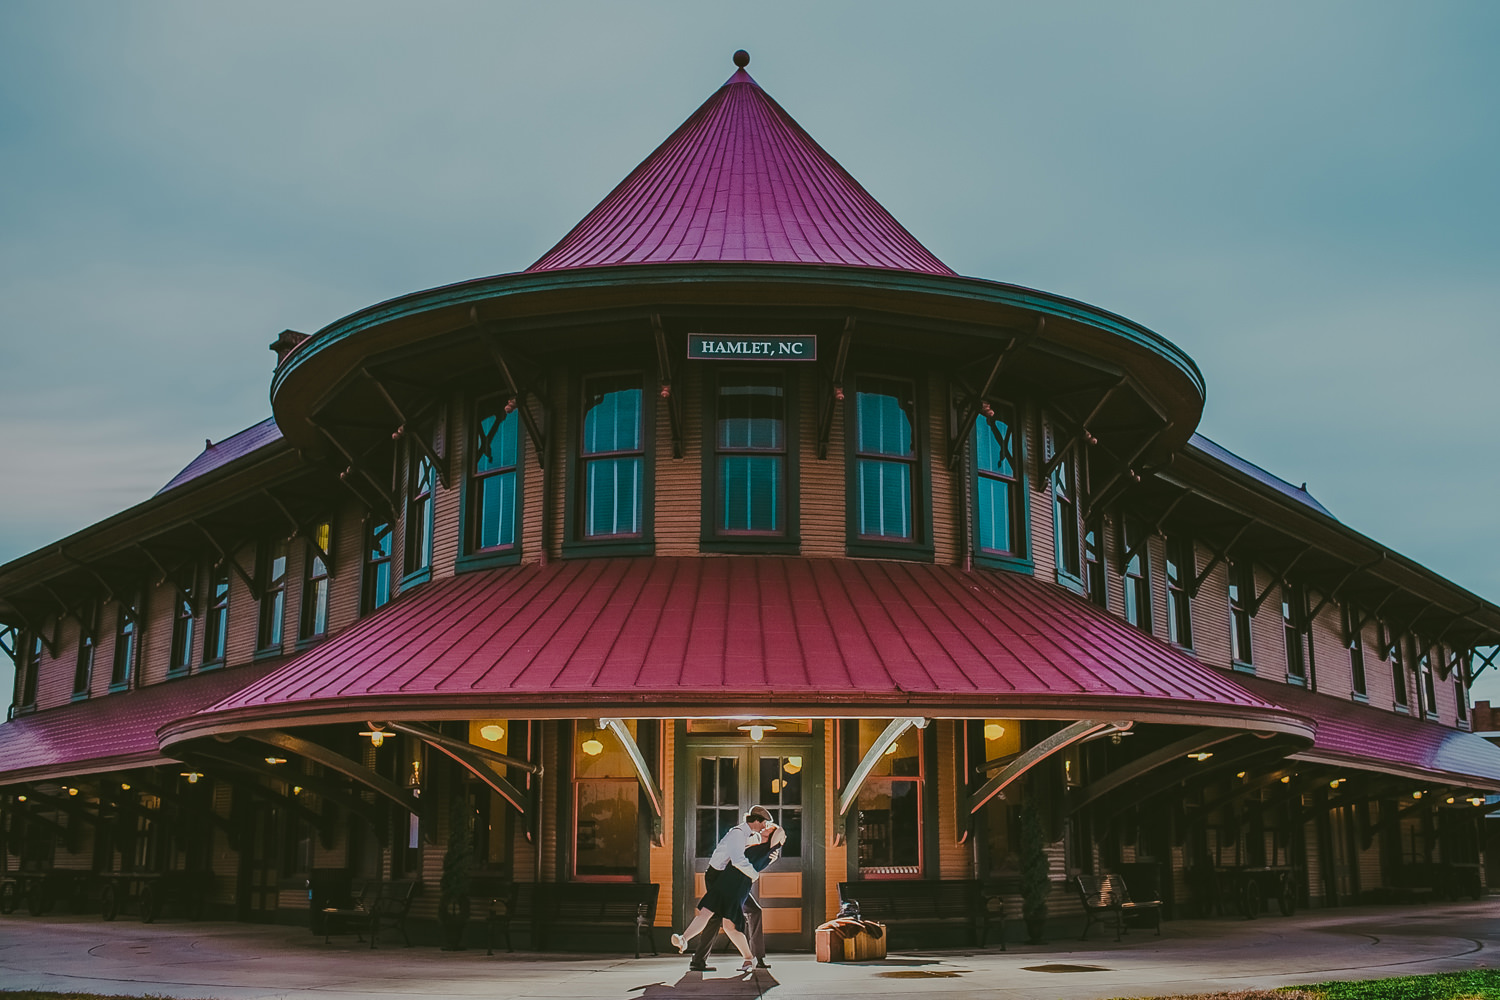
Okay, so that’s your overview of lighting situations. Now that you’re aware of them you can start to look for them when you’re shooting. From here all of our photography discussions will be based off of light and you’ll be better equip to understand what I’m talking about when I break things down.
Next week we’ll start with some camera basics before moving onto things like flash, posing, composition, anticipating moments, and more!
XOXOXO,
Mabyn
Save
Save

Photography Basics – Light
©template by Birdesign.
Mabyn Ludke Photography
Serving North Carolina and Worlwide since 2008