SHARE
How to create a wedding timeline

Creating your wedding timeline can be extremely stressful. Especially if you have to do it all on your own. Here are a few tips on how to create a wedding timeline that kicks butt!
A Traditional Wedding Timeline:
A traditional wedding timeline looks like this:
- Getting ready time
- Ceremony
- Cocktail hour/ Formal photos
- Reception
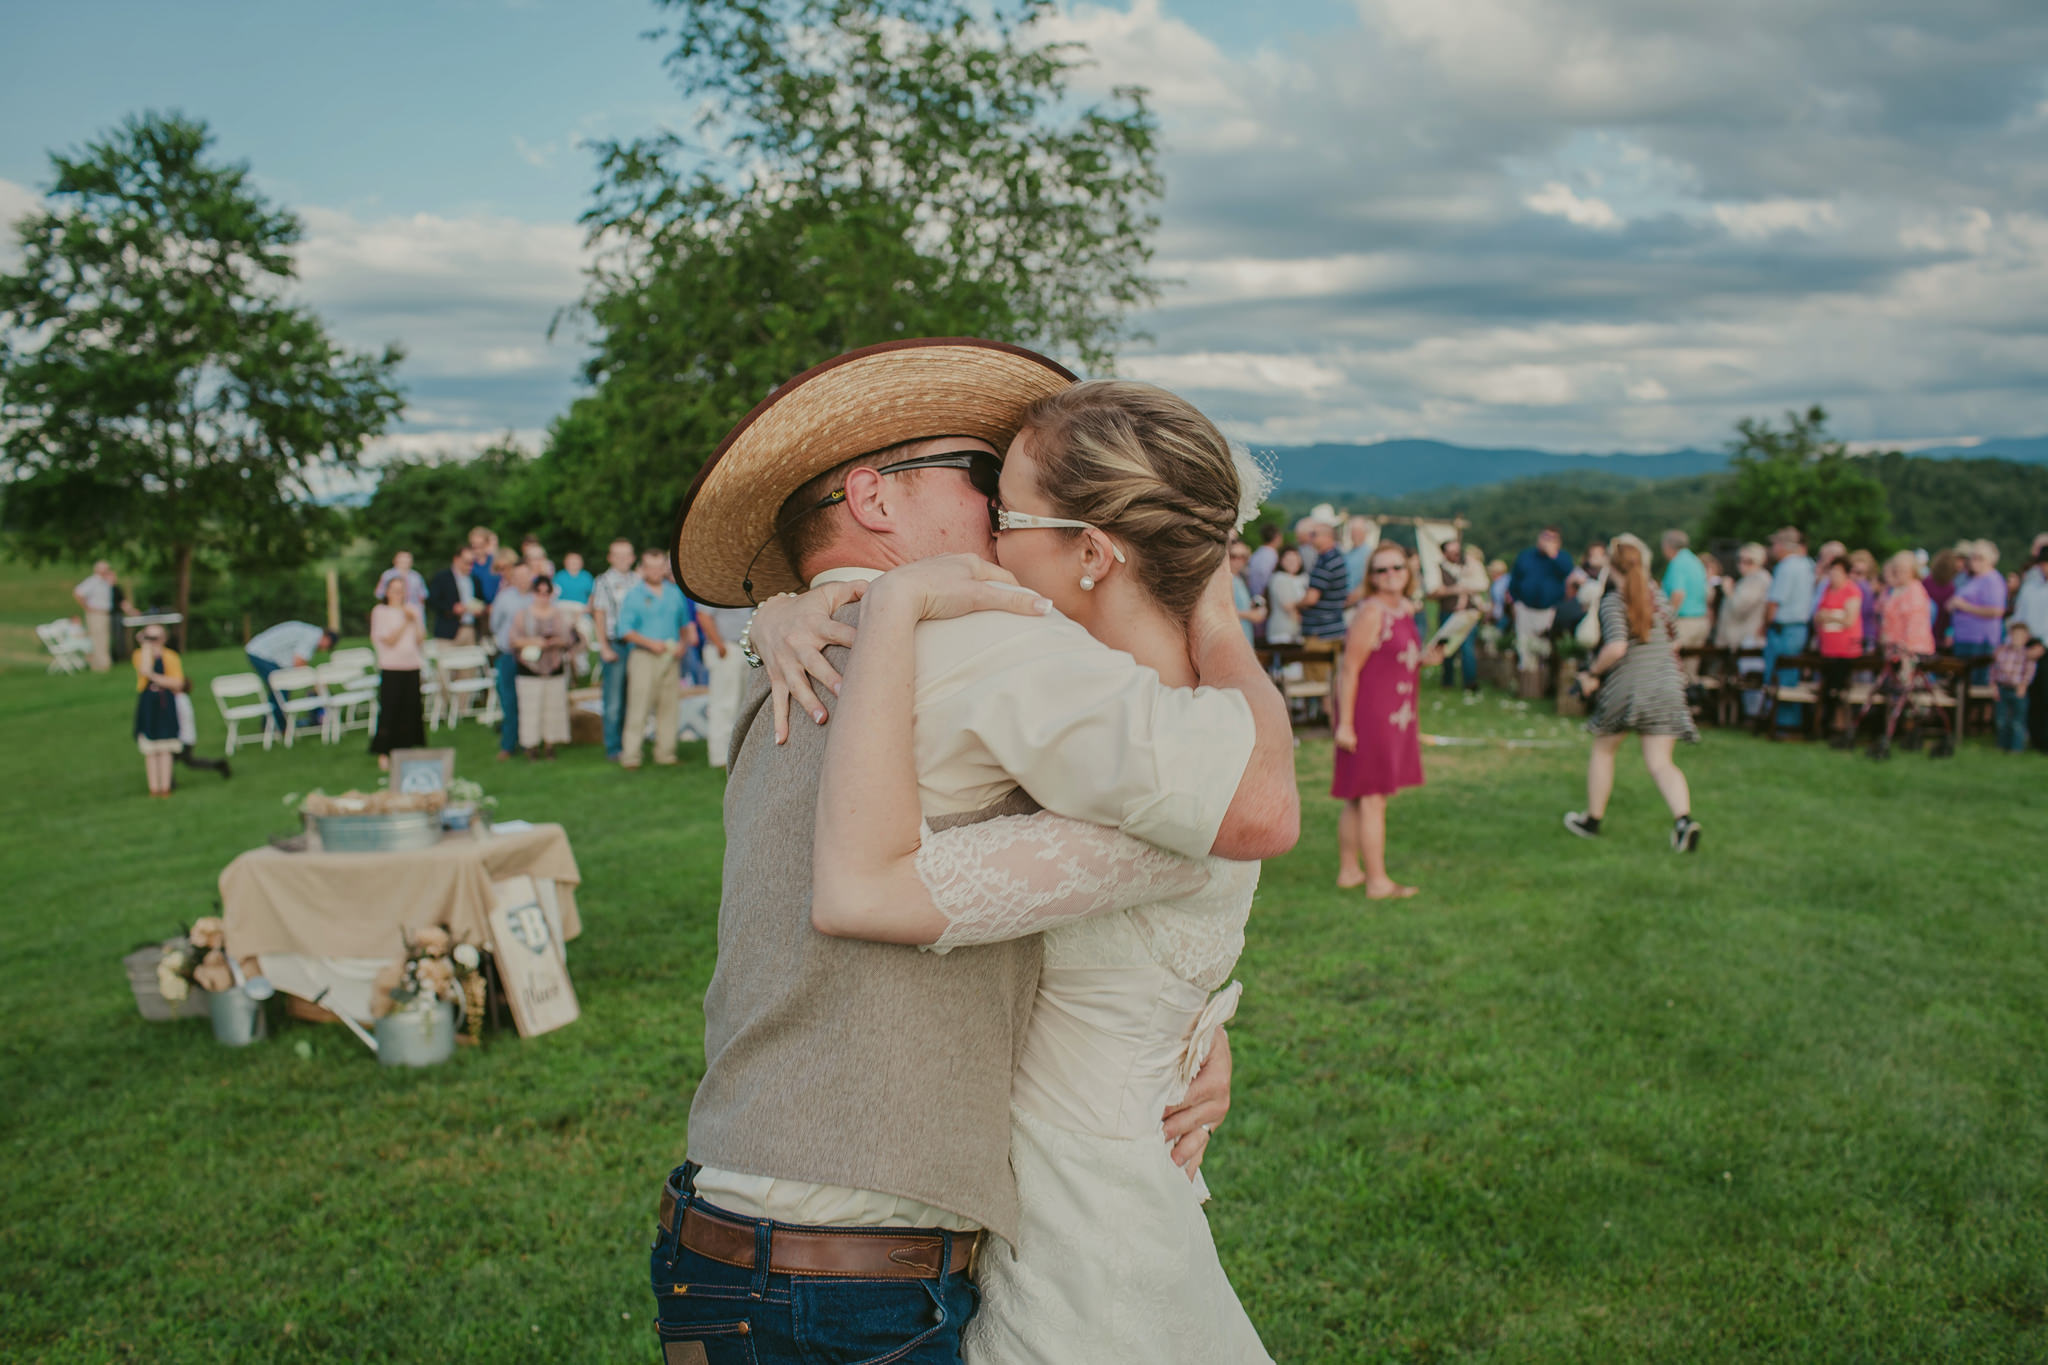
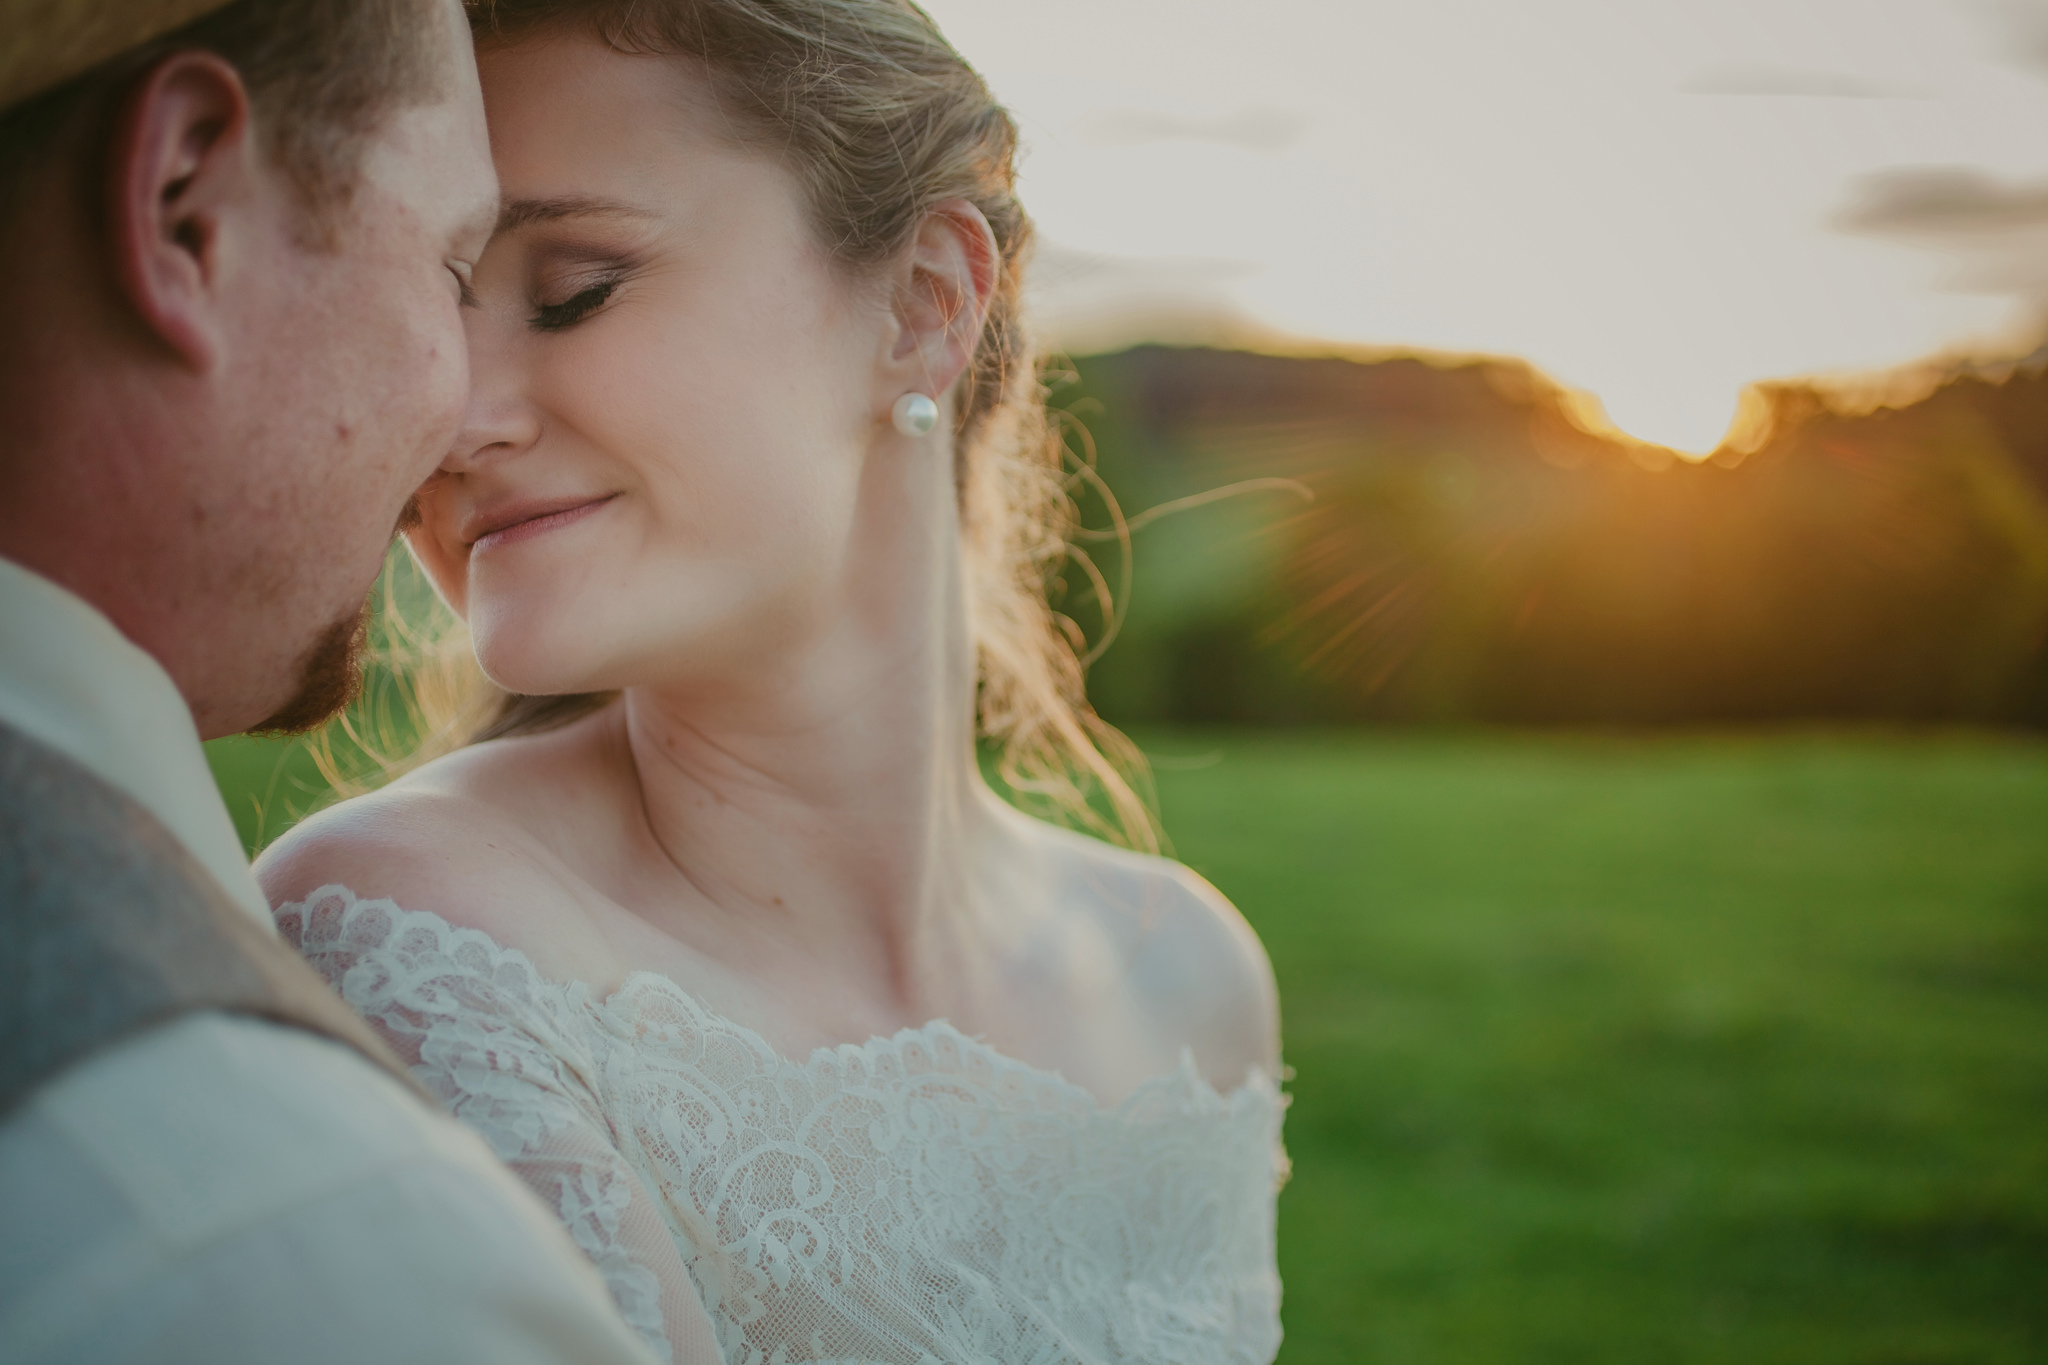
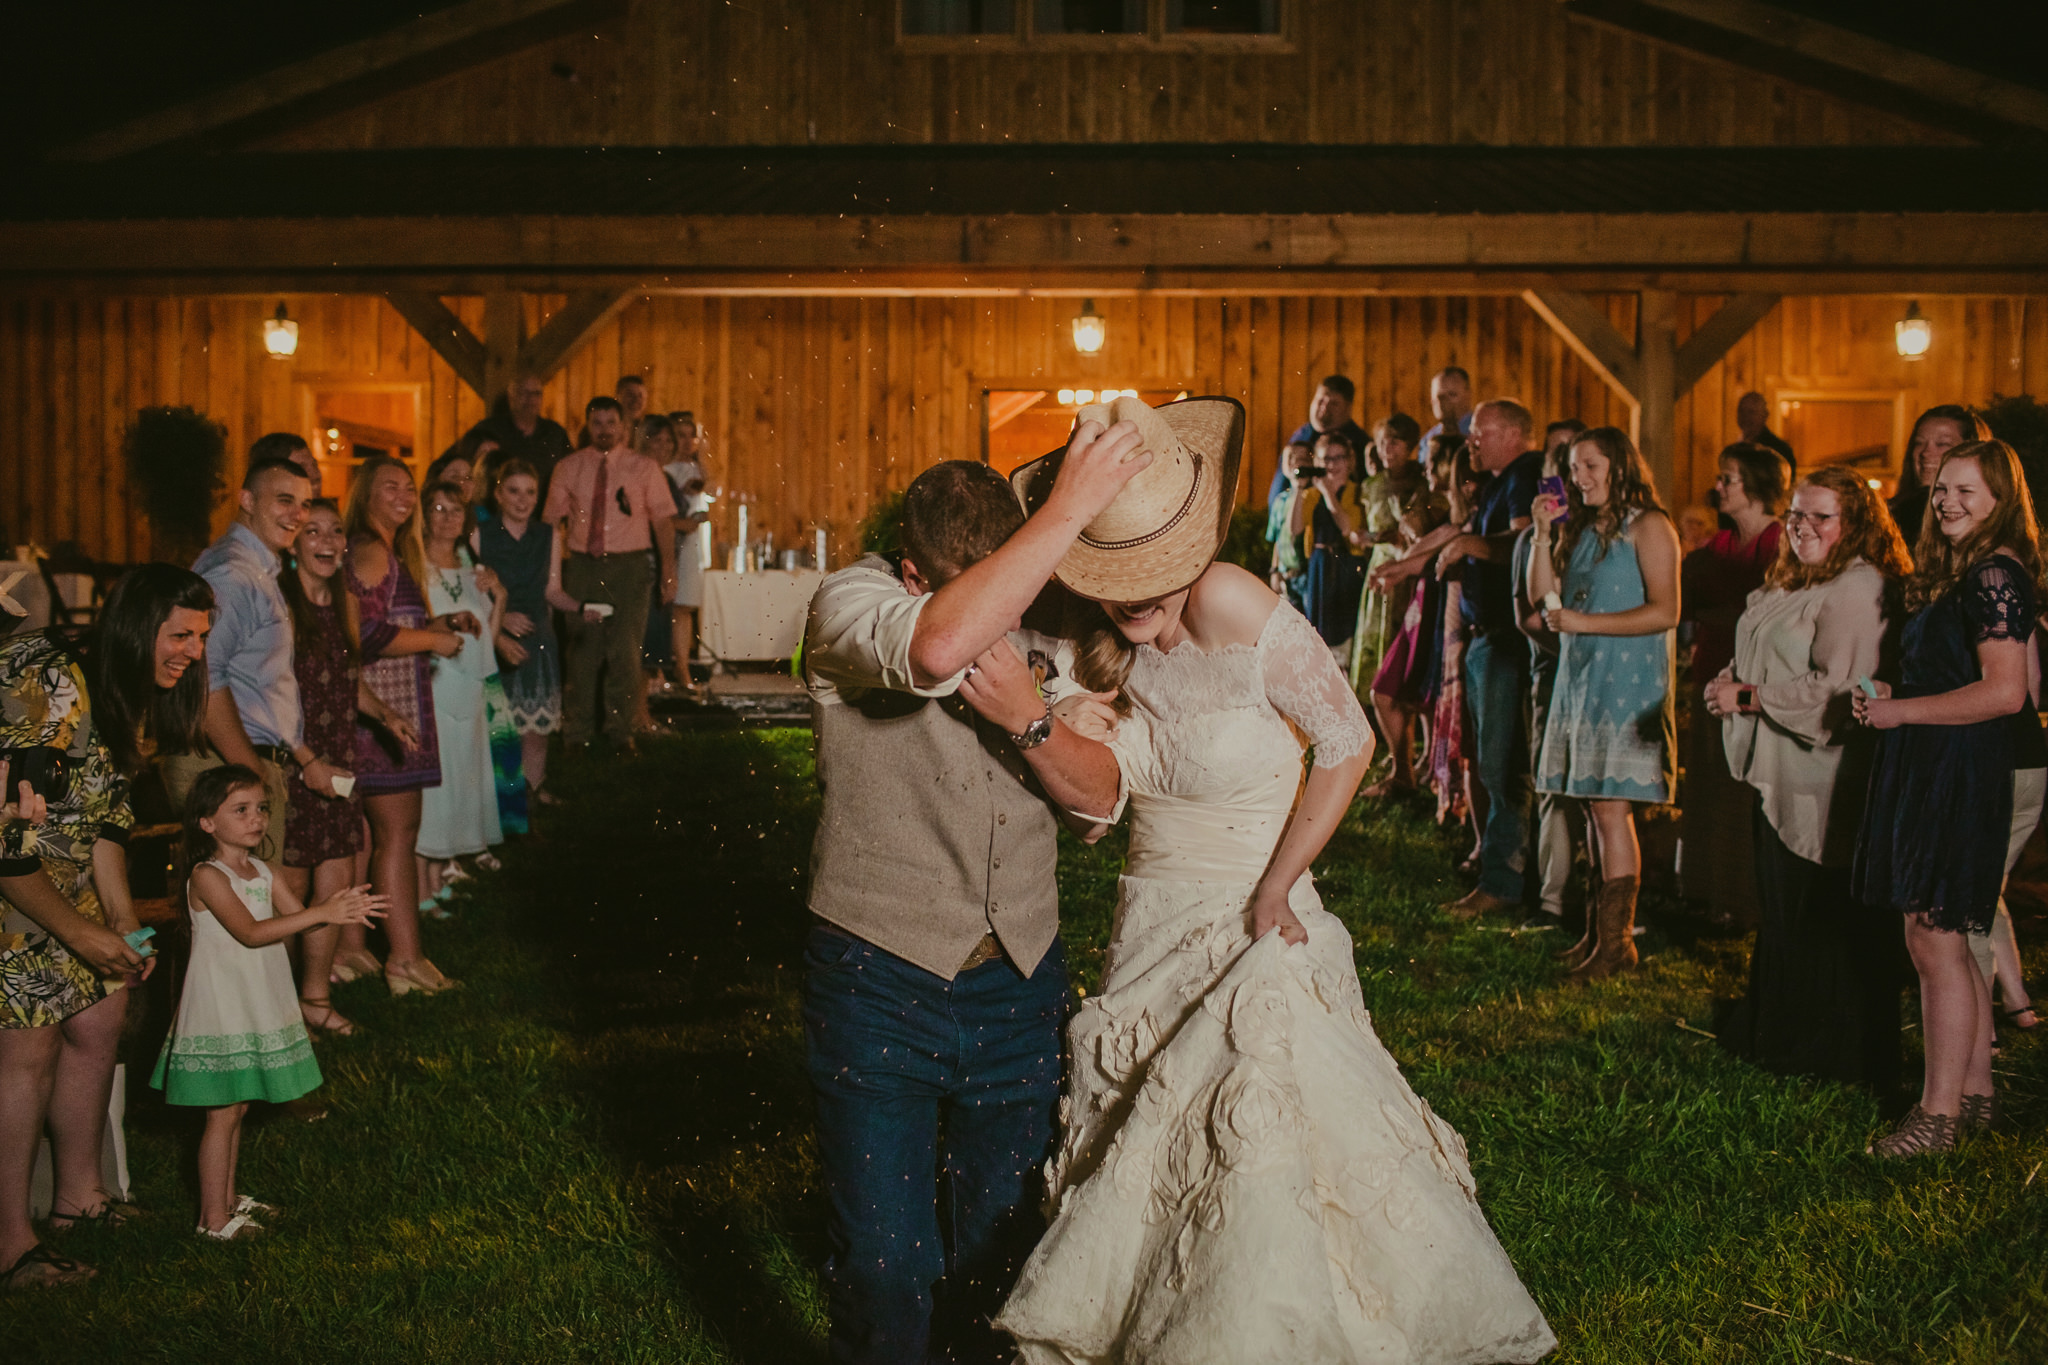
There are a lot of little spots in there to add subcategories, but we’ll get to that in a minute. The first thing you’ll want to look at is how your priorities fit into the basic timeline. I’ll use Daniel & my wedding as an example (photos not from our wedding day). When we got married our over arching priorities were guest experience, photography, & honeymoon. The honeymoon doesn’t apply here so we’ll remove that and focus on the others. Photography & guest experience both played a big roll in how we scheduled our day. I’m pretty biased when it comes to photography, so we centered our schedule around the best times for photographs!
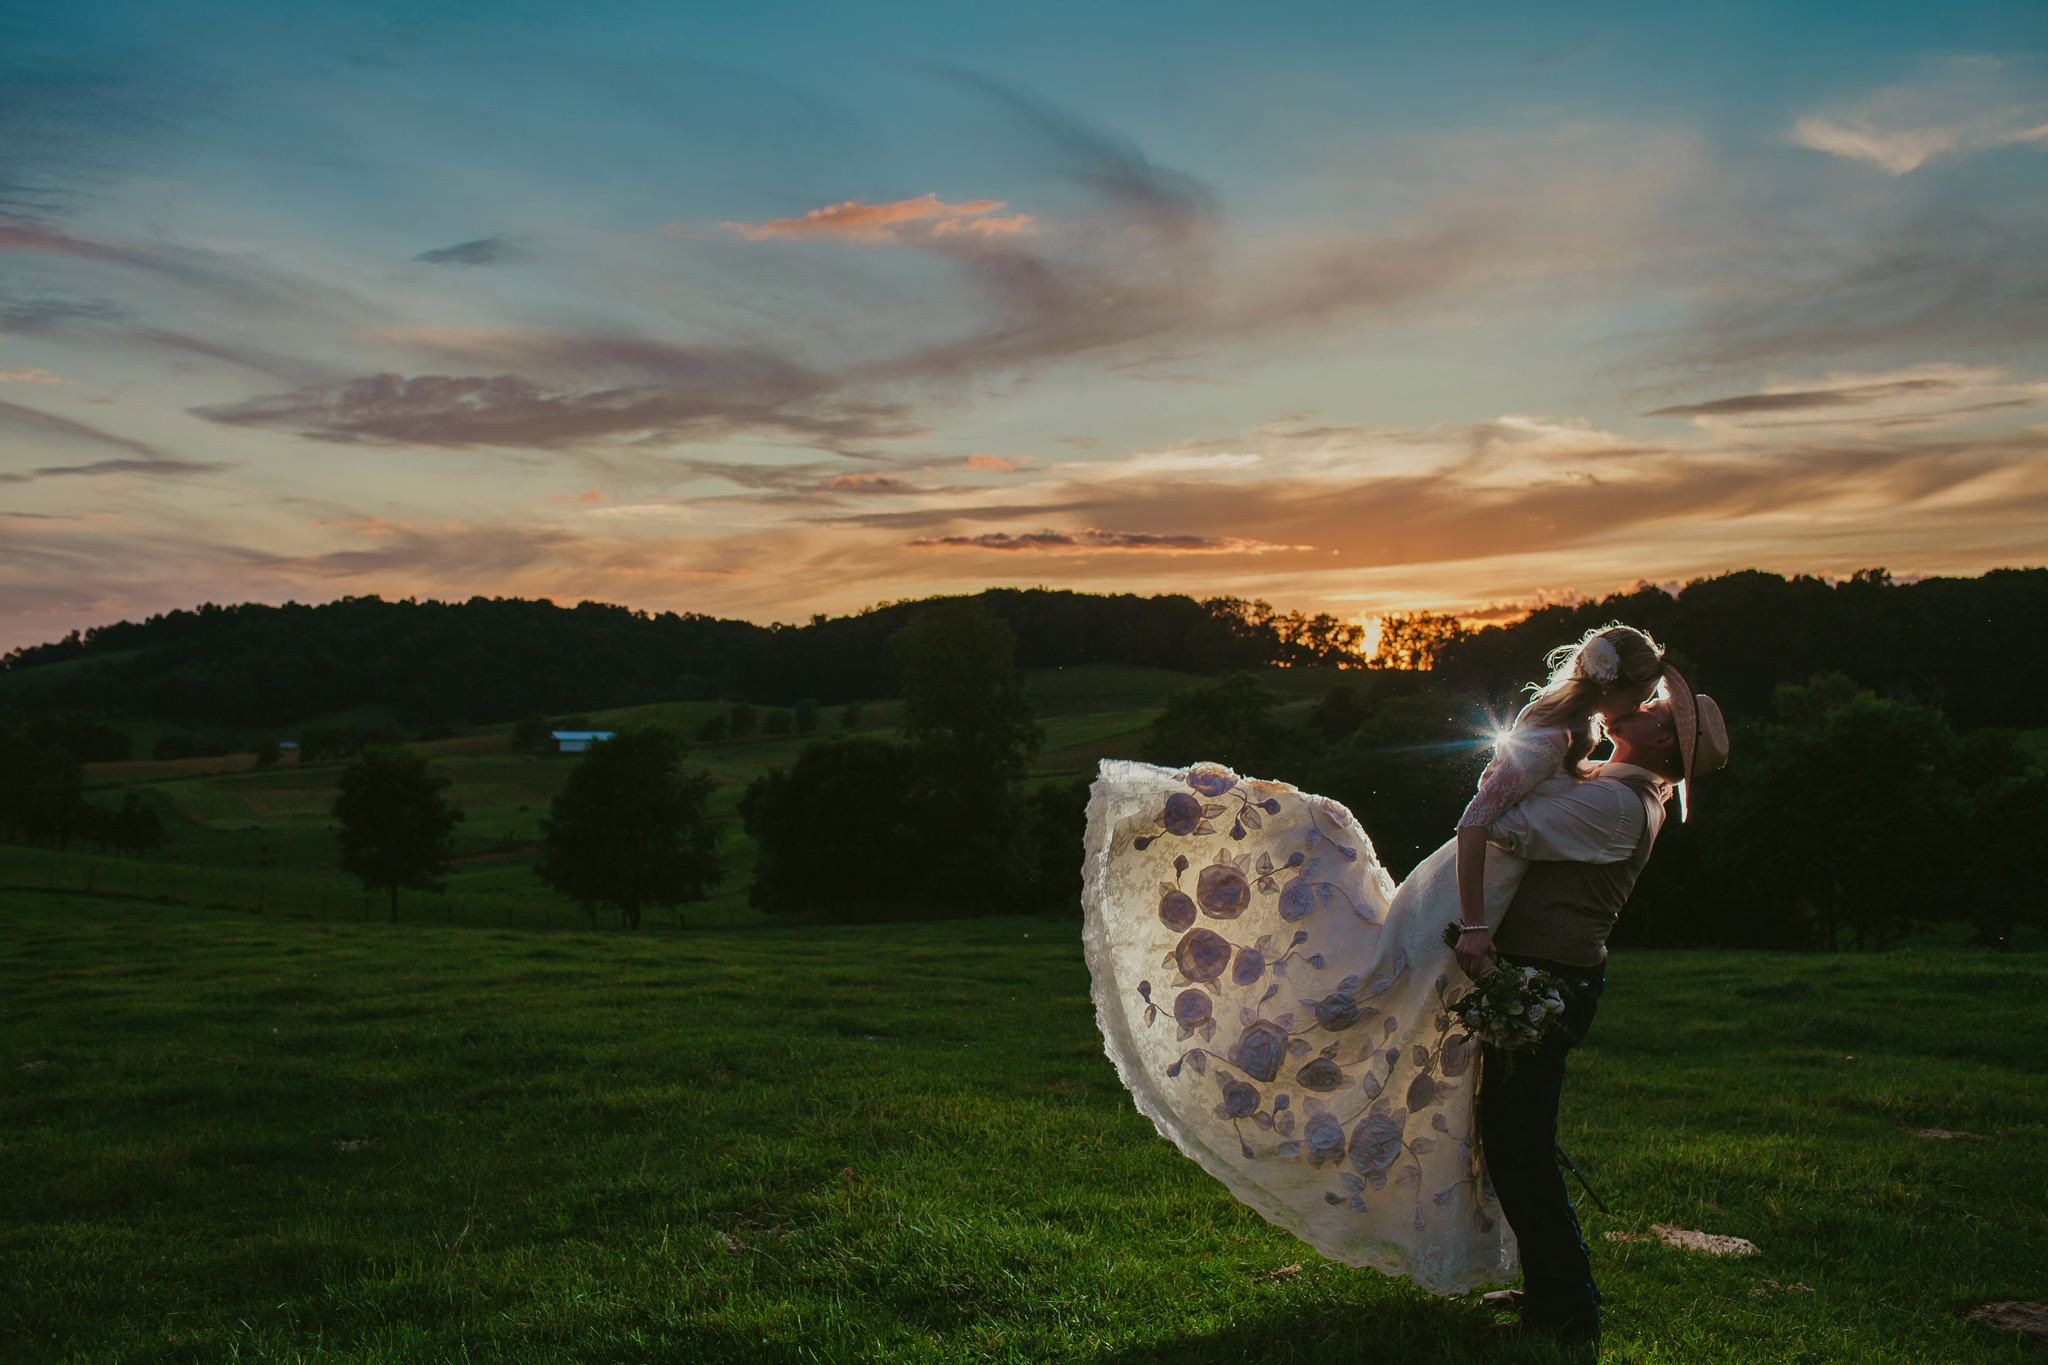
We hired our photographer for these strengths: moments, artistry, & use of light (especially golden hour). She excels at all three and we wanted to capitalize on those strengths.
On the flip side of that, I also wanted to get married at sunset. There was something so romantic about saying “I do” as the sun set behind the mountains! Here in lies the problem with a traditional timeline. Had we kept the timeline above, we would have missed out on our photographer’s keen golden hour skills. We found that a traditional wedding timeline just didn’t work for us.

A Non Traditional Wedding Timeline:
Our non traditional timeline looked something like this:
- Getting Ready
- First Look
- Cocktail Hour/ Formal Photos
- Ceremony
- Reception
There are a few unique things here, we chose to see each other before the wedding at the First Look. We also chose to have all of our formal portraits done ahead of the ceremony. This required our guests to arrive at the venue 2 hours prior to the ceremony! We didn’t want to compromise our guest experience, so we opted to position our cocktail hour before the ceremony as well. This insured our guests were well fed and had a good time while Daniel & I were off with our fabulous photographer!

Micro-Events:
Once you get the big events sorted, you’ll want to look at the micro events. These events are things like your unity candle, first dance, cake cutting, etc… Scheduling these events is mostly preference.
With a majority of these events take place during the reception there are 2 schools of thought. Get them all done at once OR spread them out through the night.
Again, think about your priorities and how they align. With guest experience in mind, we chose to have all of our events together.
We didn’t start our “party” until after the main events (i.e. formal dances & cake) were done. This allowed our guests to leave early if they didn’t want to drive down the mountain roads in the dark.
However, in some situations everyone is close by or staying at the venue so it would make sense to pace out your events for a long evening of fun!
Buffer Time:
There are a few places you’ll want to add in a little bit of “buffer time” in case things run late. Three big places to add in extra time is for hair & makeup, if you’re traveling for photographs, or you expect long winded toasts.

Now that wasn’t so bad was it? You’ve got the tools, now go have fun & create a kick butt wedding timeline!
XOXOXO,
Mabyn
For more helfpul wedding tips click here!
Save
Save
Save
Save
Save
Save

How to Plan a Wedding Timeline
Reply...
©template by Birdesign.
Mabyn Ludke Photography
Serving North Carolina and Worlwide since 2008