SHARE
Every year I set goals for myself. Sometimes they’re business related, sometimes personal, most of the time there is some sort of compositional/artistic pursuit. For the past few years good portraiture has been at the forefront. There is something just so memorizing about a portrait done well. It not only displays a beautiful picture of the subject, but captures a bit of their soul.
As a photographer, it’s rare to just happen upon these portraits. Most are well thought out & composed. They take years of practice in noticing nuances in the smallest facial expression or the best of lighting. I wouldn’t call myself a master yet, but I’ve learned a lot in the time I’ve been studying. Enough to help my clients feel comfortable in front of the camera and to make them giddy with glee when they see their photographs! And that my friends is my REAL goal, to always be the best for my clients.
So, if you’re a photographer looking to get better at the art of portraiture or a mom who just wants to take better pictures of her kids, these 4 steps will help you take the prettiest of portraits!
#1 – Look for the light
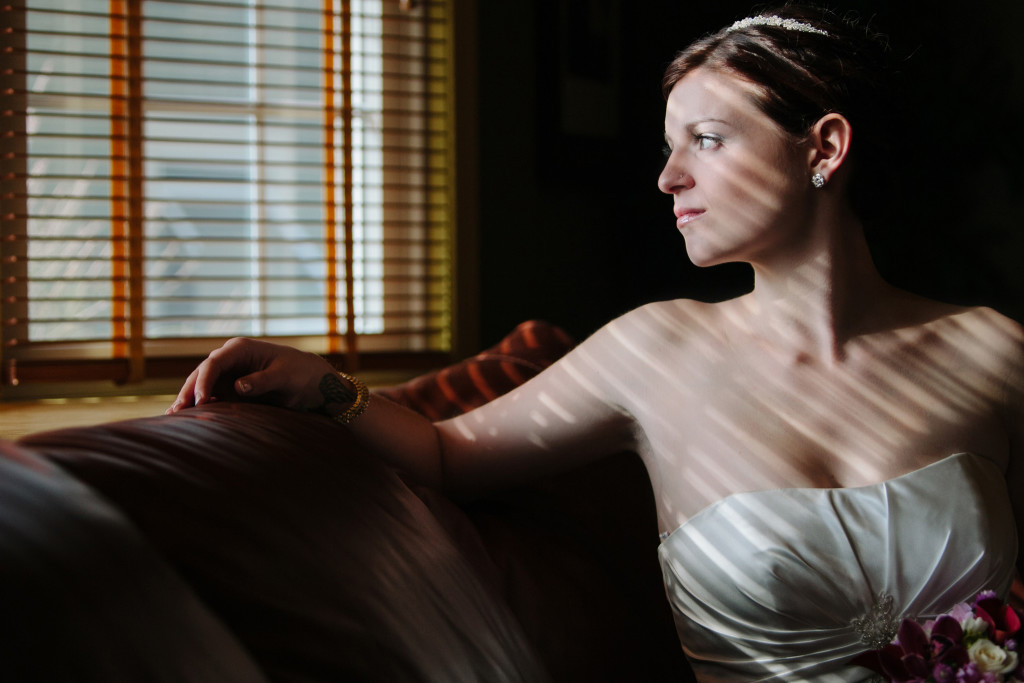
Good lighting is key to a beautiful portrait. If you don’t have good light, then your portrait will fail right front the start. Here are some things to look for.
– The quality of light – When you look around you, where is the light coming from? The sun, a lamp, ect… Is it harsh, soft, artificial? Assessing your light will help you choose what to do with it.
– The direction of light – Straight on, to the side, overhead, behind your subject, all of these directions will achieve different looks to your portraits.
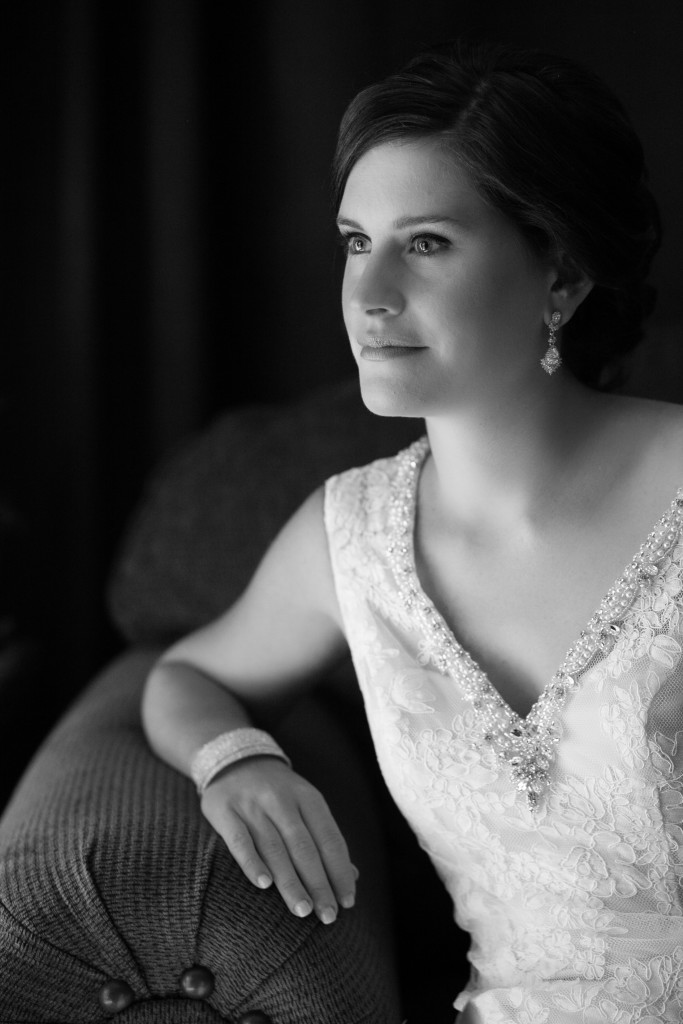
– Window light – Place your subject in front of the window with your back to it. Try not to block the light, but this will give you an even light source that is very flattering. (Pro Tip: If there are other light sources in the room, I’ll go ahead and turn them off so it doesn’t distract from the subject.)
– Golden hour – When you’re outside you can always just shoot straight on or in the shade, but my favorite thing to do is place my subject in between myself & the sun. It creates this amazing rim light (halo) in the hair and lends to that soft dreamy look that we all love! (Pro Tip: If you have a darker background like a row of tree’s the halo will be more defined.)

#2 – Check your background
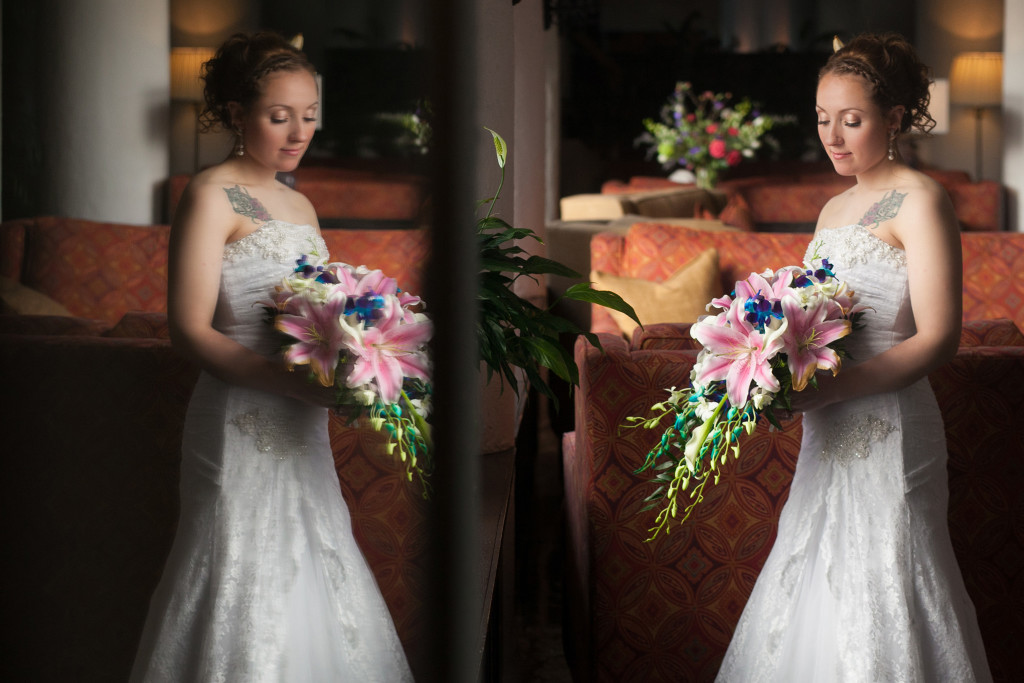
Okay, you’ve found great light. The next thing I look at is my background. There is no portrait that has ever been improved by a tree poking out of their head!
– Look for distractions – There’s that tree again…or it could be a lamp post, or the fact that it’s just a busy scene.
– Choose your lens wisely – Your lens can quickly change what your background looks like. There’s this cool thing called compression. Depending on the lens you use, it could compress your background more or less. That super compressed look where everything goes blurry is called “Bokeh.” Using compression to blur out a busy scene can help bring focus to your subject.
#3 – Body language
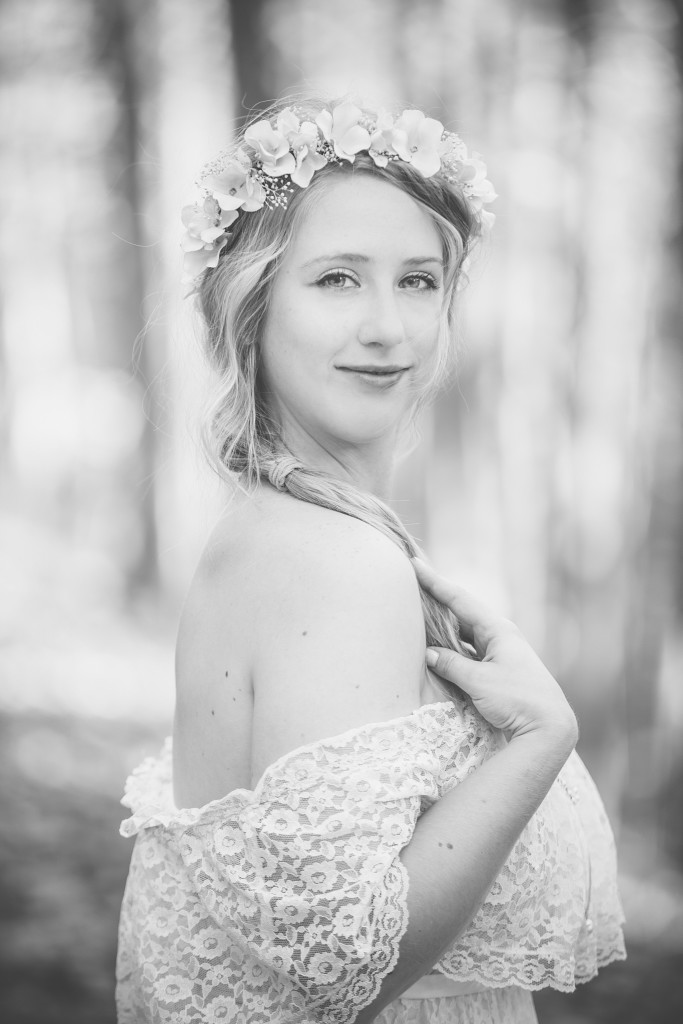
Good light, CHECK. Clean background, CHECK. Now we can focus on our subject(s) and making them look FANTASTIC!
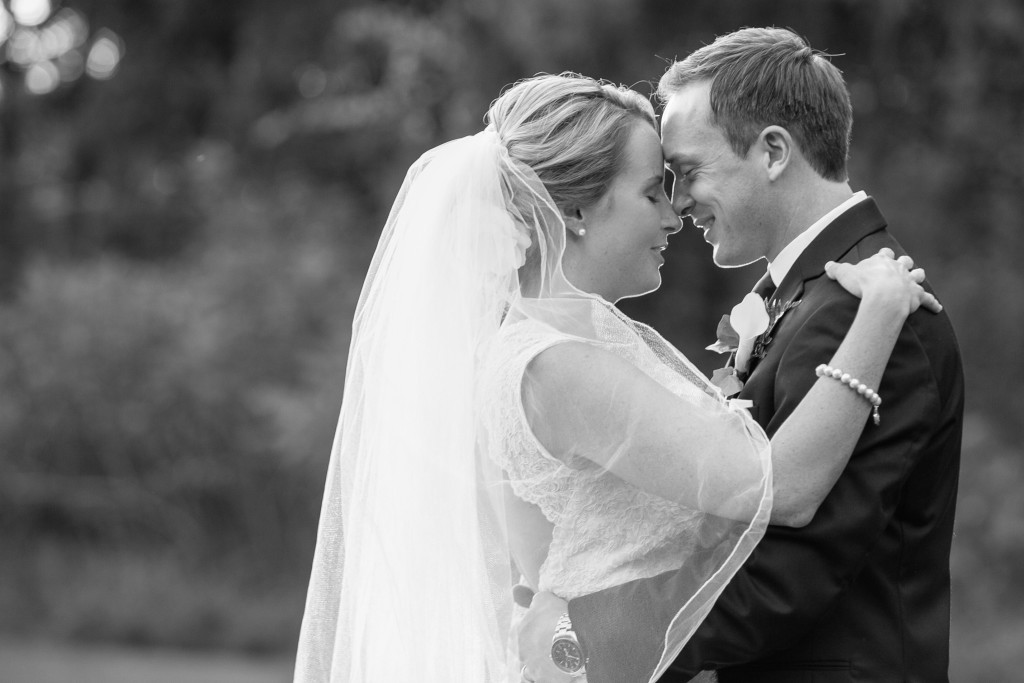
– Slim down – I don’t know a single lady out there who doesn’t enjoy feeling fabulous, myself included! Popping a hip AWAY from the camera instantly slims a person down.
– Hands – What’s going on with your hands? Are they dead fish at your sides? Are they balled fists of fury? Maybe you’re Jim Carrey and you’ve been attacked by “THE CLAW!” Hands are one of the biggest problems when taking a good portrait, WHAT DO I DO WITH THEM? If you’ve got a couple, make sure they’re always touching. If you only have one subject, give those hands something to do! Put them on your waist (real waist not hips!), Put them in a pocket, or resting on something.
– Turtle Down!– This is one of my favorite techniques, it always manages to make people laugh, feel awkward, and look fabulous all at the same time! To define a subject’s chin, have them push it slightly forward & down. Make sure they’re not moving their whole head or pushing their shoulders up. Just the chin, forward & down. Voilá! Instant definition!

#4 – Connection
Last but most definitely NOT least is connection. You want your subject to connect to the camera or with something/someone in the photograph. If they’re looking right at you, you’ll want a natural confident gaze. It’s even better when that gaze has emotion tied to it like laughter or tears. Here are some elements that can ruin a good connection:
– Deer in headlights – When you’re subject is uncomfortable, they may tend to do the “deer in headlights” look where they get all glassy eyed & strange looking. This is typically tied to stress of being in front of the camera, have them focus on relaxing their face. I tend to give those subjects a lot of direction so they’re focusing on everything BUT the camera.
– Unnatural smile – Some people just hate getting their photograph taken. They’ll plaster on a fake smile just to get the session done, but what they don’t realize is that it comes through in photographs! I’m always cracking jokes trying to get people to laugh. There is nothing more attractive on a person than a genuine smile. I will go to extreme lengths if I have to just to get that laugh!



GREAT! Now you’re a portrait taking pro, right? Have fun playing with portraits & testing out each of these elements and take over the portrait taking world!
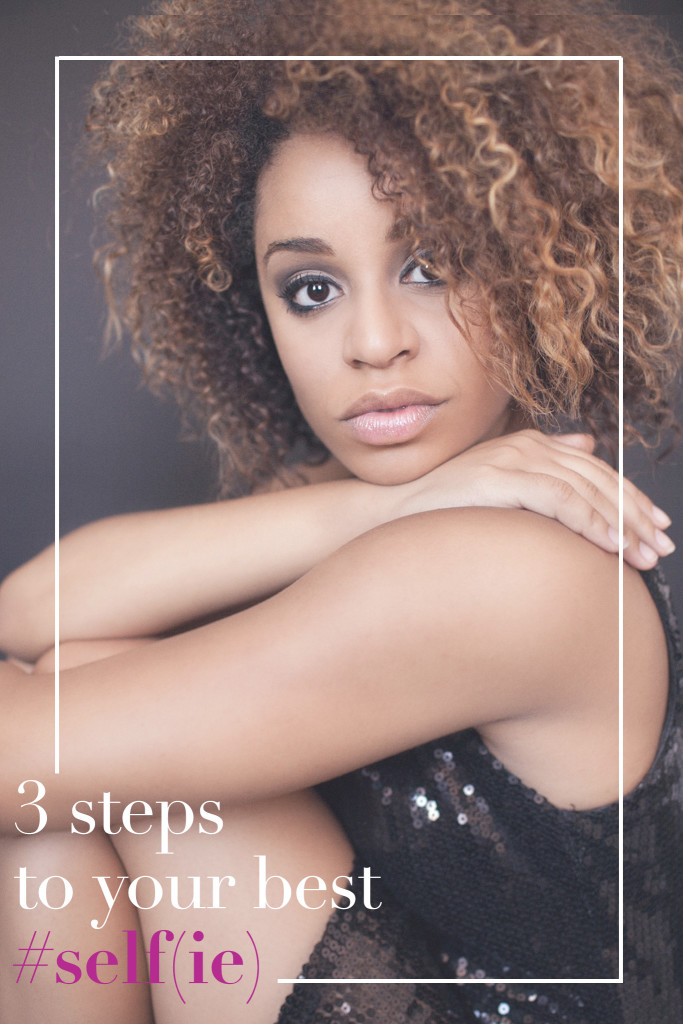
If you’re interested in how to take a better “Selfie” then head on over to my friend Ariana’s blog at SilverFeatherStudios.com! She’s way funnier than I am & she was a fantastic portrait guinea pig!
XOXOXO,
Mabyn
4 Steps for the Prettiest Portraits
©template by Birdesign.
Mabyn Ludke Photography
Serving North Carolina and Worlwide since 2008
